Nutella Mummy Hand Pies: Spookily Delicious Treats
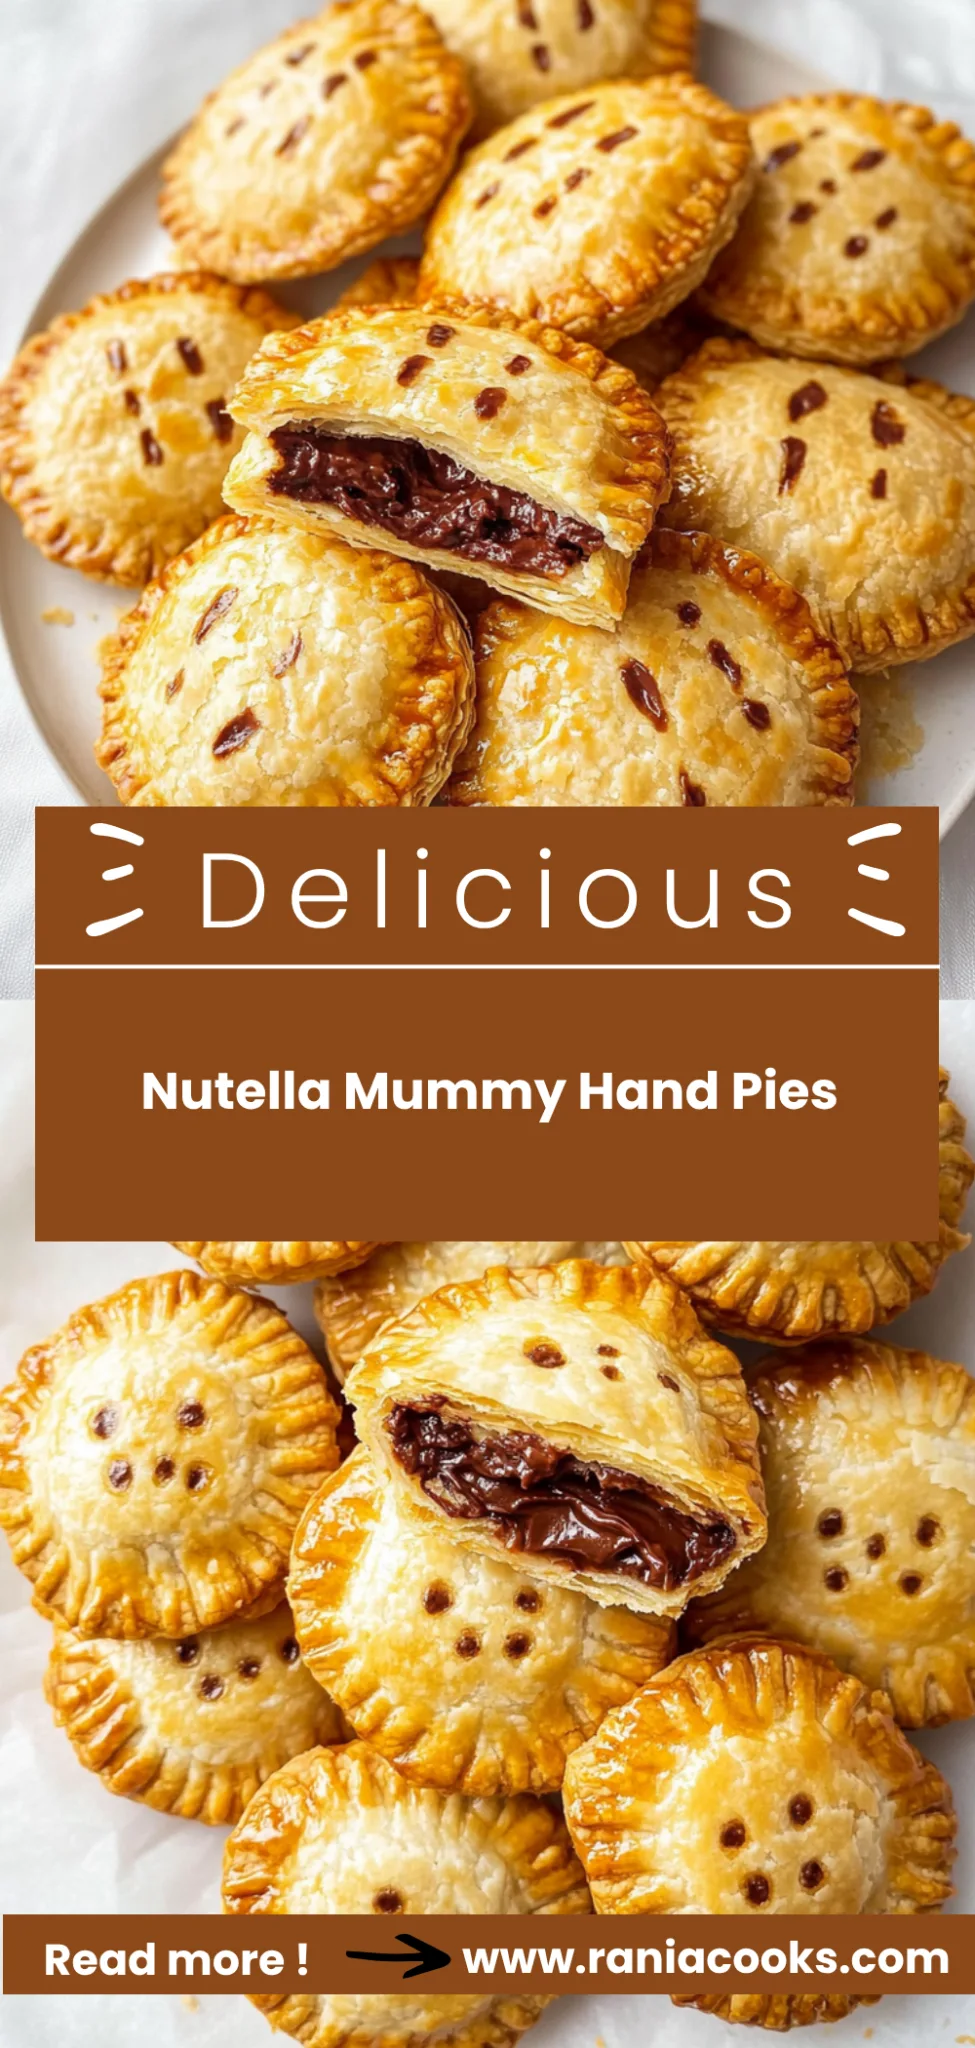
There’s nothing quite like the indulgent experience of biting into a warm, flaky Nutella Mummy Hand Pie—each one bursting with rich chocolate-hazelnut goodness, and decorated to delight! These hand pies are crispy, sweet, and oh-so-fun, making them an irresistible treat at any gathering. I created this recipe during our family’s busy Halloween prep; with my kids running around excitedly planning their costumes, I needed a quick yet festive snack that would keep their energy up—each pie packs about 5 grams of protein!
I’ll never forget the first time I made these Nutella Mummy Hand Pies. It was a chilly October afternoon, and my teenagers were busy carving pumpkins while the smell of baked pastry wafted through the house. As I pulled the golden-brown pies from the oven, my youngest exclaimed, “Wow, Mom! These look amazing!” The twist that sets these apart is the simple elegance of using pre-made pastry dough, which saves time without compromising on that homemade feel. After devouring just one, my son immediately asked for seconds, declaring them “the best Halloween treat ever!”
Ingredients for the Nutella Mummy Hand Pies
Each ingredient in this dish plays an essential role in flavor and texture. Here’s what you’ll need:
- 2 cups all-purpose flour: Provides the structure and base for the flaky crust.
- 1 tsp salt: Enhances the overall flavor of the pie crust.
- 1 cup unsalted butter (cold and cubed): Creates a rich, buttery flavor and flaky texture.
- 6 tbsp ice water: Helps bind the dough while keeping it cold for optimal flakiness.
- 1 cup Nutella: Offers a creamy, chocolate-hazelnut filling that is indulgent and sweet.
- 1 beaten egg (for egg wash): Gives the hand pies a beautiful golden finish when baked.
- 1 cup confectioners’ sugar (for drizzle): Adds sweetness and a decorative touch to the mummies.
- 2 tbsp milk (for icing): Helps achieve a smooth, pourable consistency for the icing drizzle.
Step-by-Step Instructions
I recommend starting by preparing the pie dough since it needs time to chill, which allows you to multitask while you wait. Step 1: In a large bowl, mix the flour and salt together thoroughly to ensure even seasoning. Then, add the cold, cubed butter and use a pastry cutter or your fingers to mix until the mixture resembles coarse crumbs — it’s important not to overwork it, as this will help keep your crust flaky. Gradually add the ice water, mixing until just combined; you want the dough to come together without being sticky. Once combined, divide the dough into two discs, wrap them in plastic wrap, and refrigerate for at least 30 minutes to allow it to firm up.
Step 2: While the dough chills, preheat your oven to 375°F (190°C). This ensures that your hand pies bake evenly once they’re assembled. Roll out one disc of dough on a lightly floured surface until it’s about 1/8 inch thick. Don’t be afraid to sprinkle a bit of flour on top if it starts sticking; this makes for easier rolling and prevents tearing. The thinner you roll it, the crispier your hand pies will be!
Step 3: Using a template or cookie cutter, cut out hand shapes from the rolled dough. Make sure to place half of these shapes onto a parchment-lined baking sheet — this keeps them from sticking and makes cleanup easier later on. I usually aim for about 20 hand shapes so that I have plenty of delicious treats for my family and friends.
Step 4: Spoon about 1 tablespoon of Nutella onto the center of each hand shape; don’t skimp on this part because that rich chocolate-hazelnut flavor is what makes these pies so irresistible! Carefully place another hand shape on top and press down around the edges to seal them in. For an extra secure seal, crimp the edges with a fork — this not only seals in all that delicious filling but also gives them a nice decorative touch.
Step 5: Brush the tops of each pie with the beaten egg using a pastry brush; this step is crucial as it gives your hand pies that gorgeous golden-brown color during baking. Make sure you cover every edge well because nobody wants a pale pie!
Step 6: Bake in your preheated oven for 20-25 minutes or until they turn golden brown and puff up slightly — keep an eye on them towards the end because ovens can vary in temperature. You’ll know they’re done when they’re beautifully browned on top and smell heavenly.
Step 7: While your pies cool on a wire rack, mix together confectioners’ sugar and milk until smooth; this will create your drizzle. I usually err on the side of thicker icing for better visibility when decorating — it looks more like mummy bandages! Once cooled, drizzle it generously over each pie to give them that spooky mummy look.
Step 8: Finally, if you want to add some character to your mummies, use chocolate chips or small candies for eyes. Just gently press them into place before serving. This step is optional but adds a fun touch that kids especially love!
What to Serve with Nutella Mummy Hand Pies
This dish is already incredibly filling and balanced, but these sides add extra variety and nutrition to round out your meal perfectly.
Apple Walnut Salad: A mix of crisp apple slices, crunchy walnuts, and mixed greens tossed in a light vinaigrette brings a refreshing contrast to the rich Nutella hand pies. The natural sweetness of the apples complements the chocolatey filling while providing fiber and vitamins; this salad adds about 4 grams of protein per serving. It’s a favorite at our family gatherings, especially during the fall months.
Coconut Rice: Fluffy jasmine rice cooked with coconut milk gives a subtle sweetness that beautifully echoes the flavors of Nutella without overwhelming them. This side not only offers a comforting texture to balance the hand pies but also provides healthy fats from coconut milk—about 5 grams per serving. We often prepare this as part of our meal prep for the week, ensuring we have a tasty side ready for busy nights.
Guacamole: Creamy avocado mashed with lime, salt, and diced tomatoes creates a rich dip that pairs surprisingly well with the sweet flavor profile of Nutella. The healthy fats from avocados help keep you satiated while adding approximately 2 grams of protein per serving. My kids love it as a dip alongside their hand pies, making it an easy way to include healthy fats in their diets.
Chocolate Hummus with Graham Crackers: This decadent yet nutritious dip made from chickpeas blended with cocoa powder and maple syrup enhances the chocolate experience while offering additional protein—about 3 grams per serving. Pairing it with graham crackers provides a fun crunch that complements the soft texture of the hand pies. It’s become a staple at our Halloween parties, where kids enjoy dunking their snacks while indulging in sweets.
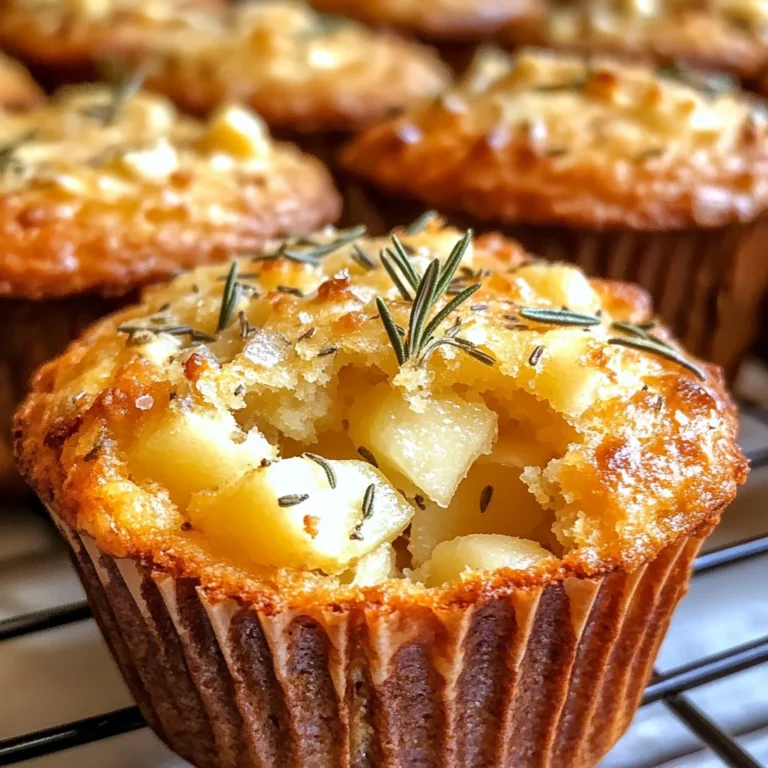
Pumpkin Spice Muffins: These moist muffins made with pureed pumpkin, cinnamon, and nutmeg echo fall flavors that resonate beautifully with Nutella Mummy Hand Pies. Offering about 3 grams of protein each, they’re not just delicious but also bring added fiber from the pumpkin. I bake them ahead for festive occasions or cozy family breakfasts when we want something sweet yet wholesome.
Storage & Serving Tips
To store your Nutella Mummy Hand Pies for meal prep, place them in an airtight container and refrigerate for up to 4 days. If you have any leftover — Pie Dough — or additional components, such as the Nutella filling, keep them stored separately. The dough can be wrapped tightly in plastic wrap and refrigerated for up to a week or frozen for up to a month. Keep the icing mixture (confectioners’ sugar and milk) in a small container with a lid to prevent it from drying out.
When reheating your hand pies, place them in a preheated 350°F oven for about 10-12 minutes to maintain their flaky texture. Avoid microwaving them, as this will make the crust soggy and diminish the delightful crunch of the pastry. If you need to reheat just the filling, you can do so in the microwave for about 30-45 seconds, stirring halfway through until warmed through, but remember that reheating should be done gently to preserve flavor and texture.
Pro tip: Batch cook these delicious hand pies by doubling the recipe on Sundays and portioning them into individual containers for easy grab-and-go snacks throughout the week. Encourage family members to get creative by letting them self-assemble their own mummies with different fillings; try swapping Nutella for peanut butter or adding a layer of sliced bananas inside. To keep your — Pie Dough — at its best during meal prep storage, consider freezing any unused portions immediately after making it — this way, you’ll have fresh dough ready whenever cravings strike!
Conclusion
These Nutella Mummy Hand Pies have become one of those recipes I make at least twice a month because they’re not only delicious but also pack a satisfying 320 calories per serving without sacrificing flavor. The flaky, buttery pie dough really sets these hand pies apart from typical desserts, creating a delightful contrast to the rich Nutella filling. Give this one a try this week. I promise it’ll become a regular rotation treat in your house too.