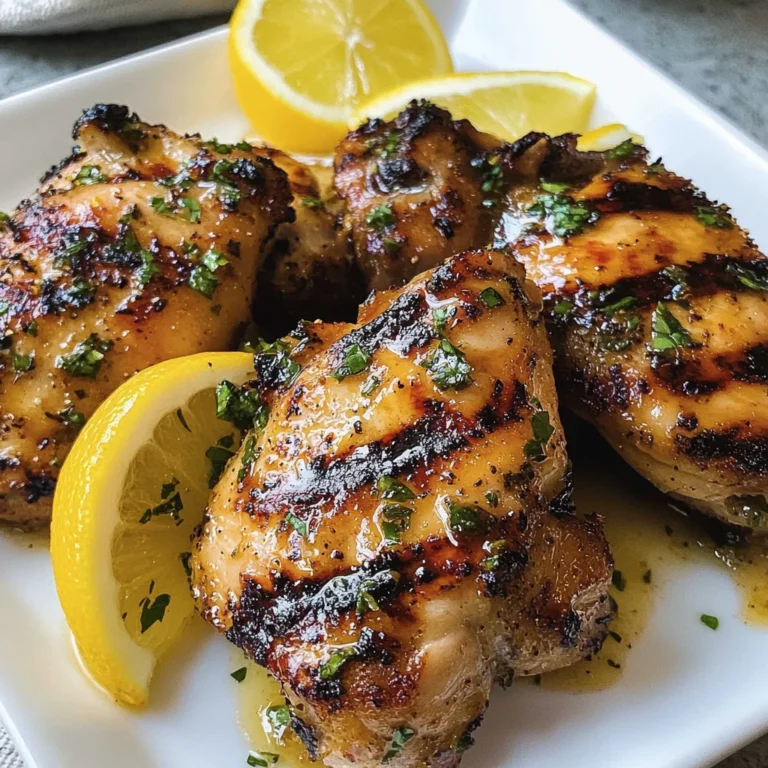
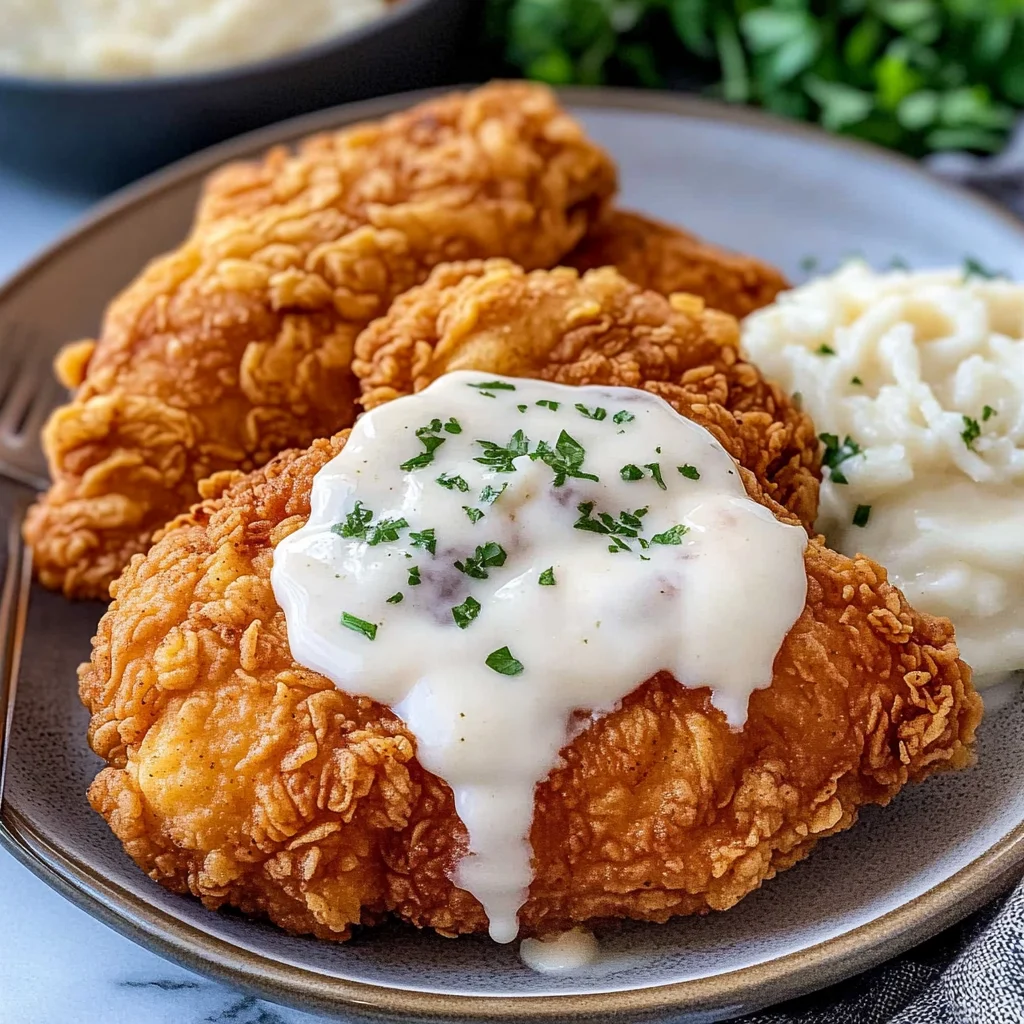
Chicken Fried Chicken: Crispy and Flavor-Packed Delight
There’s nothing quite like the crunch of Chicken Fried Chicken, a dish that brings together the best elements of Southern comfort food. Imagine sinking your teeth into crispy, savory, and golden-brown chicken that’s bursting with flavor and loaded with protein—each bite is a warm hug for your taste buds. I created this recipe during one of those busy weeks when my family craved something hearty yet quick to prepare, and at just 450 calories per serving, it’s a guilt-free indulgence that everyone loves.
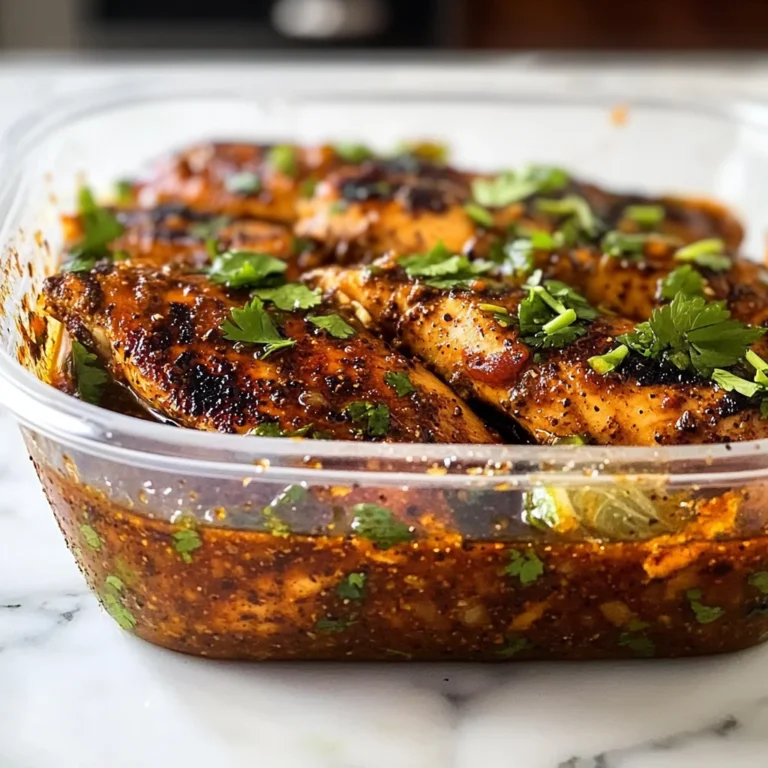
I vividly remember the first time I made Chicken Fried Chicken; it was a sunny Sunday afternoon, and my teenagers were lounging around waiting for something delicious to appear from the kitchen. As the aroma filled the air, my youngest exclaimed, “This smells amazing!” The secret to my version lies in the seasoned buttermilk brine that tenderizes the chicken and adds an extra layer of flavor. When I finally served it, there were no leftovers—my kids were clamoring for seconds, and I knew I had hit a home run with this comforting classic!
Ingredients for the Chicken Fried Chicken
Each ingredient in this dish plays an essential role in flavor and texture. Here’s what you’ll need:
4 pieces boneless chicken breasts (pounded to 1/2 inch thick): These provide a tender and juicy base for the dish.
1 cup all-purpose flour (for dredging): This creates a crispy and golden crust when fried.
1 cup buttermilk (for soaking): This tenderizes the chicken and adds a slight tanginess.
2 large eggs (beaten): These help the breading adhere to the chicken, ensuring a great coating.
1 teaspoon salt (for seasoning): Enhances the overall flavor of the chicken.
1 teaspoon black pepper (for seasoning): Adds warmth and depth to the dish.
1 teaspoon paprika (for flavor): Provides a subtle smokiness and vibrant color.
1 teaspoon garlic powder (for flavor): Infuses the chicken with a savory, aromatic touch.
- 2 cups vegetable oil (for frying): Essential for achieving that perfect crispy texture during frying.
Step-by-Step Instructions
I recommend starting by pounding the chicken breasts to an even thickness of about 1/2 inch, as this helps them cook evenly and ensures a juicy result.
Step 1: Pound the chicken breasts to an even thickness of about 1/2 inch using a meat mallet or rolling pin. This step is crucial because it ensures that the chicken cooks uniformly, preventing any pieces from being undercooked while others are overdone. After flattening, take a moment to season the chicken with salt, pepper, paprika, and garlic powder, which will infuse flavor throughout the meat.
Step 2: In one bowl, pour in the buttermilk for soaking your chicken. Buttermilk not only adds moisture but also helps tenderize the chicken, creating a deliciously juicy bite. In another bowl, combine the all-purpose flour with an additional teaspoon each of salt, pepper, paprika, and garlic powder. This seasoned flour mix will form that irresistible crispy coating. In a third bowl, beat your two large eggs until they’re well combined; this will help the breading stick to the chicken nicely during frying.
Step 3: Now it’s time to bread the chicken. Start by dipping each piece into the buttermilk to coat thoroughly, allowing any excess to drip off before moving on. Next, transfer the chicken to your seasoned flour mixture — make sure it’s fully coated for that extra crunch! Afterward, dip it in the beaten eggs and return it to the flour mixture again for a double coating. I find that this double dredging technique builds up a thicker crust that fries up beautifully golden brown.
Step 4: Heat vegetable oil in a large skillet over medium-high heat until it reaches 350°F (175°C). Use a candy or deep-fry thermometer for accuracy; getting this temperature right is vital for achieving that perfect crispy exterior without overcooking the meat inside. Once hot enough, carefully add the breaded chicken pieces to the skillet without overcrowding them—this helps maintain oil temperature and ensures even cooking. Fry for about 5-7 minutes on each side until they turn golden brown and cooked through; you want no pink remaining in the center.
Step 5: Once finished frying, remove the chicken from the skillet and place them on paper towels to drain excess oil. This step is essential for keeping your fried chicken crispy instead of greasy. Serve hot with your favorite sides; my family loves pairing it with creamy coleslaw or fluffy mashed potatoes for a true Southern feast!
What to Serve with Chicken Fried Chicken
This dish is already incredibly filling and balanced, but these sides add extra variety and nutrition to round out your meal perfectly.
Southern Coleslaw: This creamy coleslaw features shredded cabbage, carrots, and a tangy dressing made from mayonnaise, apple cider vinegar, and a hint of sugar. The crunch of the slaw contrasts beautifully with the crispy texture of Chicken Fried Chicken while providing a refreshing balance to the richness of the dish. It’s packed with fiber and vitamins A and C, making it a great choice for boosting your meal’s nutritional value, and it’s a must-have at our family gatherings.
Garlic Mashed Potatoes: Smooth and buttery garlic mashed potatoes made with Yukon Gold potatoes, roasted garlic, and a splash of cream create a comforting side that complements the Southern flavors of the chicken. The creamy texture pairs well with the crispy fried coating, while adding around 4 grams of protein per serving helps keep our meals satisfying. My kids love this classic combo, especially when there’s gravy on top!
Avocado Salad: A fresh avocado salad tossed with cherry tomatoes, red onion, cucumber, and a drizzle of lime juice offers a light yet satisfying option that brightens up the plate. The creamy avocado adds healthy fats that help to keep you full, while the zesty flavors echo the seasoning in the chicken without overpowering it. This is my go-to side for summer BBQs when I want something nutritious without much fuss.
Cornbread Muffins: These sweet cornbread muffins are soft and slightly crumbly, perfect for soaking up any leftover gravy or sauce from your Chicken Fried Chicken. The subtle sweetness complements the savory elements of the dish beautifully while adding around 3 grams of protein each—a great energy boost! We often make these muffins in bulk for meal prep during busy weeks; they freeze wonderfully for quick lunches or dinners later on.
Storage & Serving Tips

To store your Chicken Fried Chicken for meal prep, place the cooked chicken in an airtight container and refrigerate for up to 4 days. For optimal freshness, keep the breading and any sauces separately; store the flour mixture in a sealed bag or container, and if you have leftover buttermilk or beaten eggs, transfer them to small containers as well. This will help maintain the crispy texture of the chicken when reheating.
When it comes to reheating, preheat your oven to 375°F and place the chicken on a baking sheet for about 10–12 minutes until heated through and crispy again. Avoid microwaving the chicken as it can make the breading soggy and unappetizing. If you need to reheat any leftover breading mixture, simply pan-fry it in a small amount of oil over medium heat until warm and slightly crispy.
Pro tip: To batch cook Chicken Fried Chicken for the week, consider making a double batch on Sunday and portioning it into individual containers for easy grab-and-go meals. Family members can self-assemble their own bowls by pairing the chicken with various sides like steamed vegetables or rice. For added variety throughout the week, swap the chicken for turkey cutlets or even plant-based patties. To keep your chicken crispy during meal prep storage, consider placing a paper towel under the lid of the container to absorb excess moisture.
Conclusion
This Chicken Fried Chicken has become one of those recipes I make at least twice a month because it’s not only delicious but also packs a satisfying 450 calories per serving without compromising on flavor. The secret to its standout taste lies in soaking the chicken breasts in buttermilk, which keeps them incredibly juicy and tender beneath that perfectly crispy breading. Give this one a try this week. I promise it’ll become a regular rotation meal in your house too.
Chicken Fried Chicken
Ingredients
Method
- Pound the chicken breasts to an even thickness of about 1/2 inch.
- Season the chicken with salt, pepper, paprika, and garlic powder.
- In one bowl, place the buttermilk. In another bowl, mix flour with salt, pepper, paprika, and garlic powder.
- Beat the eggs in a separate bowl.
- Dip each piece of chicken in the buttermilk, then coat with the flour mixture, followed by the beaten eggs, and finally back into the flour mixture.
- Heat vegetable oil in a large skillet over medium-high heat until it reaches 350°F (175°C).
- Carefully add the breaded chicken pieces to the hot oil and fry for about 5-7 minutes on each side, or until golden brown and cooked through.
- Use a thermometer to ensure the internal temperature reaches 165°F (74°C).
- Remove the chicken from the skillet and drain on paper towels. Serve hot with your favorite sides.