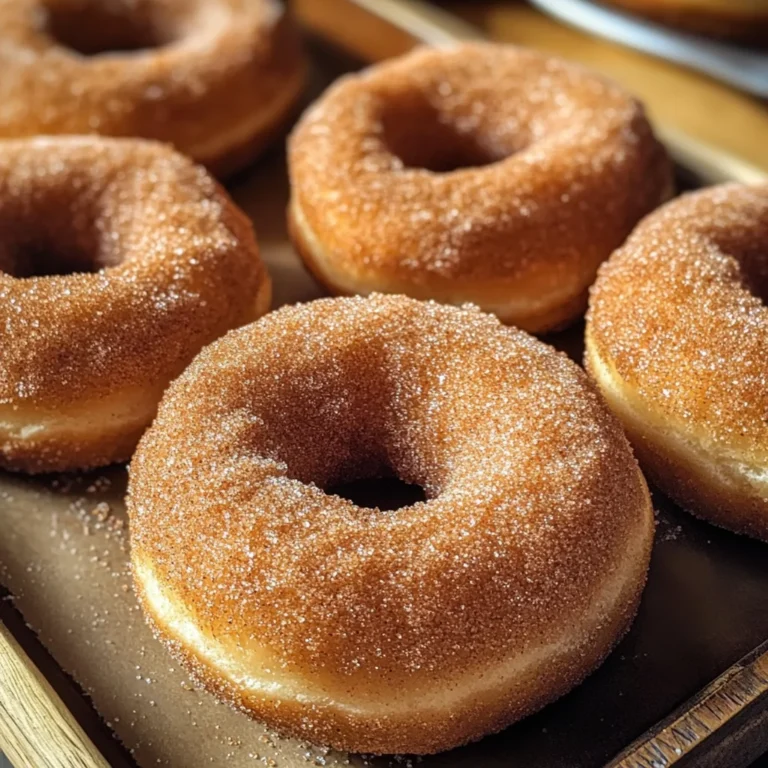
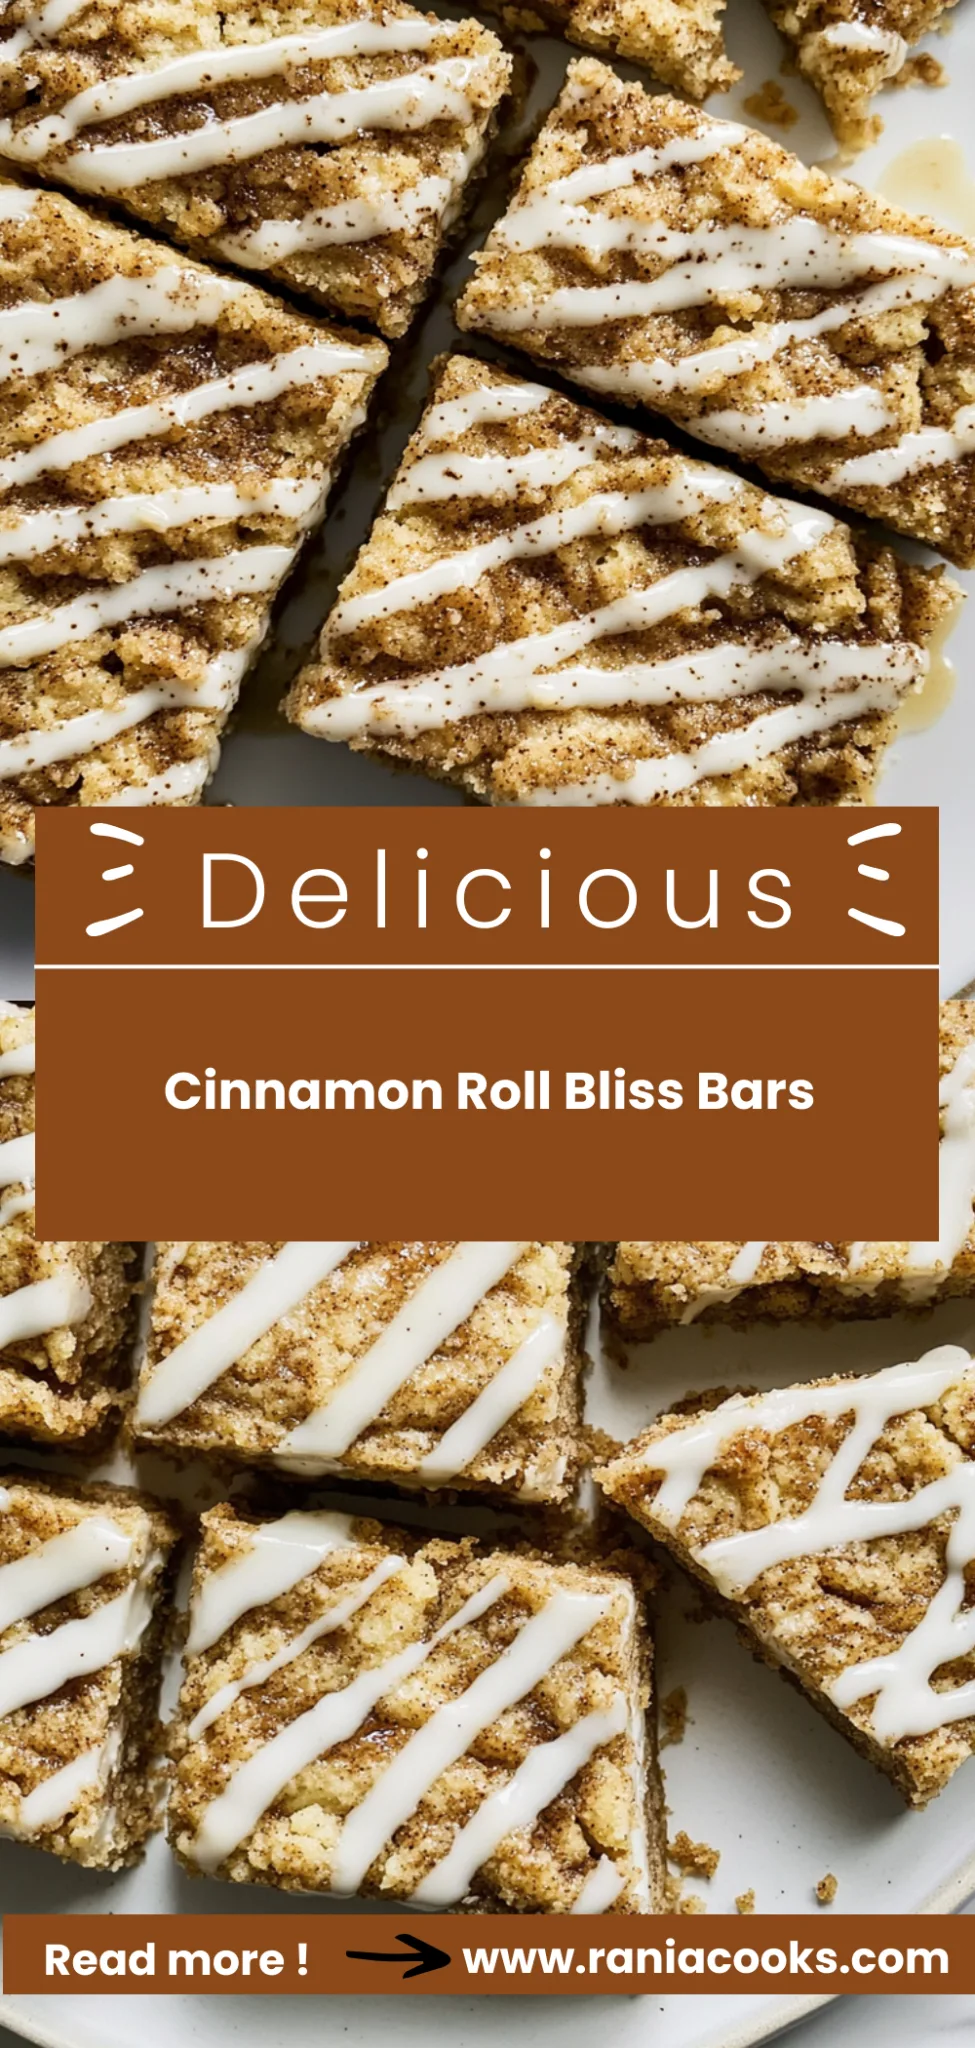
Cinnamon Roll Bliss Bars: Gooey and Irresistibly Sweet
There’s nothing quite like the warm, sweet aroma of freshly baked Cinnamon Roll Bliss Bars wafting through your kitchen, enticing everyone around to indulge in their gooey goodness. Each bite is a symphony of soft, tender dough, luscious cinnamon swirls, and a creamy glaze that dances on your taste buds—comforting, decadent, and oh-so-satisfying. I created this recipe during one of those busy weeks when breakfast needed to be quick yet wholesome; with about 250 calories per generous serving, they pack a protein punch while still feeling like an indulgent treat.
The first time I made these bars was on a chilly Sunday morning when my teenagers were lounging around in their pajamas, looking for something special to kick-start the day. As I pulled the golden-brown bars from the oven, my youngest exclaimed, “Wow, Mom! They smell like heaven!” The secret twist that sets my Cinnamon Roll Bliss Bars apart is the addition of Greek yogurt in the dough—a simple swap that adds moisture and protein without compromising flavor. To my delight, both kids asked for seconds, and I couldn’t help but smile at their happy faces as they devoured every last crumb.
What You’ll Need for Cinnamon Roll Bliss Bars
Each ingredient in this dish plays an essential role in flavor and texture. Here’s what you’ll need:
2 cups all-purpose flour: Provides the structure and soft texture for the bars.
1 cup granulated sugar: Sweetens the base and enhances overall flavor.
1 tablespoon baking powder: Helps the bars rise, creating a light and fluffy texture.
1 teaspoon ground cinnamon: Infuses warm, aromatic spice throughout the bars.
1/2 teaspoon salt: Balances sweetness and elevates all the flavors.
1/2 cup unsalted butter (melted): Adds richness and moisture to the mixture.
1 cup milk: Contributes to a tender crumb and creamy consistency.
2 large eggs: Provide binding and help achieve a cohesive structure.
Step-by-Step Instructions
I recommend starting with preheating the oven since it takes a bit of time to reach the right temperature — this way, your bars will bake perfectly while you’re preparing the batter.
Step 1: Preheat your oven to 350°F (175°C) and grease a 9×13 inch baking pan to ensure your bars don’t stick. Use a non-stick spray or a little melted butter on a paper towel to coat the pan evenly. While the oven warms up, grab a mixing bowl and combine the flour, granulated sugar, baking powder, ground cinnamon, and salt. Mixing these dry ingredients well at this stage is crucial for even distribution throughout your bars.
Step 2: In another bowl, whisk together the melted butter, milk, and eggs until they are well combined and frothy. This step is essential because it helps incorporate air into the mixture, giving your bars that lovely soft texture. Once blended, pour the wet ingredients into the dry mixture and gently mix until just combined; be careful not to overmix as you want those delicious cinnamon roll flavors to shine through.
Step 3: Now it’s time to prepare the cinnamon filling! In a small bowl, mix together the brown sugar, ground cinnamon, and softened butter until you achieve a crumbly texture. This filling will add those classic cinnamon roll layers in your bars. Make sure your butter isn’t too melted or too cold; room temperature works best for achieving that perfect crumble.
Step 4: Grab your prepared baking pan and spread half of the batter into it evenly. I like using an offset spatula for this step as it helps smooth out the batter without tearing it. Once you have an even layer, sprinkle the cinnamon filling evenly over this first layer of batter. The aroma from this step will make your kitchen smell incredible!
Step 5: Now top with the remaining batter by gently dolloping spoonfuls across the cinnamon layer. Use a knife to swirl gently through both layers — don’t overdo it! You want those swirls visible for that beautiful marbled effect but avoid completely mixing them together.
Step 6: Bake in the preheated oven for 25-30 minutes or until a toothpick inserted in the center comes out clean or with just a few moist crumbs attached. Keep an eye on them — you’re looking for a golden-brown top that isn’t overly firm; soft and gooey is what we’re after!
Step 7: Once baked to perfection, let the bars cool in the pan for about 10 minutes before transferring them to a wire rack to cool completely. This cooling step helps set their structure so they hold together beautifully when sliced.
Step 8: While your bars are cooling, let’s make that glaze! In a small bowl, whisk together powdered sugar, milk, and vanilla extract until smooth and creamy — I usually add more milk if I want it thinner for drizzling purposes. The glaze should be thick enough to cling but loose enough to drizzle over your cooled bars effortlessly.
Step 9: Finally, once your bars are cooled completely, drizzle that luscious glaze generously over them before slicing into squares. This final touch adds an irresistible sweetness that complements those gooey cinnamon layers perfectly!
What to Serve with Cinnamon Roll Bliss Bars
This dish is already incredibly filling and balanced, but these sides add extra variety and nutrition to round out your meal perfectly.
Fresh Berry Salad: A vibrant mix of strawberries, blueberries, and raspberries tossed with a light honey-lime dressing brings a refreshing contrast to the gooey sweetness of the bars. The tartness of the berries not only complements the cinnamon flavors but also adds a boost of antioxidants and vitamin C, making this salad a nutritious choice for breakfast or brunch. It’s a favorite at our family gatherings, adding color and freshness to the table.
Savory Quinoa Pilaf: Fluffy quinoa sautéed with garlic, onions, and a medley of vegetables provides a hearty side packed with protein—about 8 grams per cup! This dish balances the sweetness of the Cinnamon Roll Bliss Bars while giving you complex carbohydrates for lasting energy. I often make this pilaf in bulk on meal prep Sundays to keep our weekday breakfasts exciting and nutritious.
Avocado Toast: Creamy avocado spread on whole-grain bread seasoned with sea salt and red pepper flakes offers healthy fats that beautifully contrast with the sweet bars. Each slice is loaded with about 4 grams of protein and plenty of fiber, which helps keep us satisfied longer. My kids love customizing theirs with tomatoes or even a sprinkle of feta for extra flavor!
Maple Roasted Sweet Potatoes: Cubes of sweet potato roasted until caramelized and drizzled with maple syrup echo the warm spices in the bars while adding a deliciously satisfying texture. With around 2 grams of protein per serving, these sweet potatoes provide additional vitamins A and C, making them an excellent complement to any breakfast spread. I often prep these in batches to enjoy as snacks throughout the week!
Storage & Serving Tips
To store your Cinnamon Roll Bliss Bars, let them cool completely before transferring them to an airtight container. You can keep the bars in the fridge for up to 5 days. If you have leftovers of the glaze, store it separately in a small container with a tight-fitting lid to maintain its creamy consistency. For best results, keep the bars and glaze apart until you’re ready to serve; this prevents the glaze from soaking into the bars and losing its delightful texture.
When reheating, place individual bars in a preheated oven at 350°F for about 10 minutes to restore their soft, gooey goodness. Avoid microwaving, as this will make them disappointingly soggy and detract from their delicious flavor. If you’ve stored the glaze separately, you can warm it slightly in the microwave for about 15-20 seconds or until just pourable; be cautious not to overheat it, as that could alter its texture.
Pro tip: To batch cook these blissful bars for meal prep, consider doubling the recipe on Sundays and portioning them into individual containers for easy grab-and-go breakfasts or snacks throughout the week. Family members can self-assemble their servings by adding freshly drizzled glaze on top each day. For variety, swap out some of the granulated sugar with honey or maple syrup in the bar mixture for a different sweetness profile, and try using almond milk instead of regular milk for a dairy-free option. To keep the glaze fresh and prevent it from hardening in storage, add a small splash of milk when you’re ready to use it to achieve that perfect creamy consistency.
Conclusion
These Cinnamon Roll Bliss Bars have become a staple in my kitchen, and I make them almost every week because they’re not just deliciously soft and gooey but also pack in a satisfying 250 calories per serving. What truly sets these bars apart is the combination of melted butter and milk in the batter, which creates an incredibly moist texture that you won’t find in typical cinnamon rolls. Give this one a try this week. I promise it’ll become a regular rotation treat in your house too.