How to Make Lemon Curd
There’s something utterly intoxicating about the vibrant fragrance of fresh lemons wafting through your kitchen. As you zest those sun-kissed fruits and squeeze their juicy goodness, you’re not just preparing a recipe; you’re embarking on a delightful culinary journey that bridges the gap between tradition and innovation. How to Make Lemon Curd is more than just a cooking endeavor; it’s an experience that awakens your senses and fills your heart with warmth and joy. The smooth, silky texture combined with that bright, zesty flavor creates a symphony of tastes that dances on your palate, making it impossible not to smile with every bite. Trust me when I say this homemade lemon curd will become a cherished recipe in your repertoire, perfect for spreading on toast, dolloping atop cakes, or simply enjoying by the spoonful.
What I love most about making lemon curd is how wonderfully versatile it is. You can pair it with so many desserts—think fluffy sponge cakes, creamy cheesecakes, or even a delicate meringue. It’s like having liquid gold at your fingertips! The best part? It’s straightforward to whip up right in your kitchen with just a few pantry staples. Each time I make it, I’m reminded of those moments spent in my grandmother’s kitchen, where we would create magic together over the stove. Making lemon curd isn’t just about following a recipe; it’s about embracing the process and allowing yourself to savor each step along the way.
How to Make Lemon Curd: A Zesty Delight for Your Sweets
Welcome, my friend! Today, we’re diving into one of my all-time favorite recipes: homemade lemon curd. This luscious treat is perfect for brightening up any dessert or simply enjoying on its own. So roll up your sleeves and let’s get started!
Ingredients:
As we set out on this culinary adventure, let me walk you through the ingredients you’ll need to create this delightful lemon curd. Each component plays a pivotal role in achieving that perfect balance of sweetness and tartness.
- 1 cup + 2 tablespoons granulated sugar: This essential ingredient serves as the sweet backbone of our lemon curd. Not only does sugar add sweetness, but it also helps balance out the tartness of the lemons. When selecting sugar, look for fine granulated sugar for easy incorporation into the mixture. If you’re aiming for a more complex flavor profile, consider using raw cane sugar as an alternative; however, be mindful that it may slightly alter the color of your final product.
- 1 tablespoon cornstarch: Here’s where things get interesting! Cornstarch acts as a thickening agent in our curd, giving it that luxurious texture we all crave. It’s crucial because without it, your lemon curd could end up being too runny—nobody wants that! Make sure to whisk it well with sugar before adding liquid; this ensures even distribution and prevents clumping later on.
- 1/8 teaspoon salt: You might wonder why we need salt in something sweet like lemon curd. Well, let me tell you—it enhances all those beautiful flavors! A pinch of salt is absolutely paramount; it elevates the taste experience by balancing out sweetness and enriching the overall flavor profile.
- 1 cup fresh lemon juice (approximately 5 lemons): Freshly squeezed lemon juice is non-negotiable here! The brightness and acidity from freshly squeezed juice are what truly bring this curd to life. Bottled juices simply cannot replicate that vibrant zing—trust me on this one! Choose lemons that feel heavy for their size; they tend to have more juice inside.
- 3 large eggs: Eggs are our emulsifiers in this recipe, creating that silky smooth consistency we desire in our lemon curd. They also add richness without overwhelming the tartness of the lemons. Always use large eggs for consistency in results; if you’re working with smaller eggs, adjust accordingly.
- 2 tablespoons unsalted butter: Butter adds a luxurious creaminess to our curd while enhancing flavor immensely. It’s crucial to use unsalted butter so you can control the amount of salt in your recipe—this gives you complete freedom to tailor it exactly to your taste preferences!
- 1 teaspoon grated lemon rind: Ahh—the zest! This little detail brings such depth of flavor to our curd by offering aromatic oils from the peel itself. When grating lemon rind, make sure to only take off the yellow part and avoid any white pith beneath—it can be bitter.
Equipment You’ll Need:
Before we dive into making our luscious lemon curd, let’s gather our trusty tools that will help us along the way! The right equipment not only makes cooking smoother but also enhances enjoyment throughout the process.
- Medium saucepan: A medium-sized saucepan is essential as it allows for even heating while providing enough space for whisking vigorously without splattering everywhere—a must when working with custard-like mixtures!
- Whisk: A good-quality whisk is necessary for combining ingredients smoothly and ensuring there are no lumps—remember how important that velvety texture is! If you don’t have a whisk handy, a fork can work in a pinch; just be sure to put some elbow grease into mixing!
- Fine-mesh strainer: While technically optional if you’re meticulous about whisking well (and who doesn’t want a flawless result?), straining helps achieve an ultra-smooth finish by catching any bits of cooked egg or zest left behind.
- Heatproof bowl: After cooking our mixture on the stovetop, we’ll need a suitable container for cooling down our curd before chilling it further in the fridge—opt for glass or ceramic here since they hold heat well!
Now that we’ve gathered all our ingredients and tools together let’s embark on making this delightful lemon curd that’s sure to brighten your day!
Step 1: Whisk Together Dry Ingredients
To kick off this magical process of creating How to Make Lemon Curd, start by grabbing your medium saucepan and combining 1 cup plus 2 tablespoons of granulated sugar with 1 tablespoon of cornstarch and 1/8 teaspoon of salt using your trusty whisk. This initial step is crucial because mixing these dry ingredients evenly ensures there won’t be any clumps when we add our wet components later on. Take your time here—don’t rush this step! It might seem simple but trust me when I say doing this properly sets us up beautifully for success further down the line.
Step 2: Add Wet Ingredients
Next comes one of my favorite parts! Gently stir in 1 cup of freshly squeezed lemon juice along with those three large eggs into your dry mixture until thoroughly combined. You’ll want everything blended seamlessly at this point because we’re building layers upon layers of flavor here! As you mix these elements together over medium heat while continuously stirring (this keeps everything from sticking), you’ll notice how quickly things begin warming up—the aroma will start filling your kitchen like sunshine itself!
Step 3: Bring Mixture To A Boil
Continue stirring constantly until you bring this beautiful concoction just shy of boiling—it should take around 6–8 minutes depending on how attentive you are (and trust me—you want every second!). What you’re looking for here are small bubbles forming around edges; once achieved reduce heat immediately so we can simmer gently instead—this controls temperature better while allowing flavors meld beautifully without risk burning anything.
Step 4: Simmer Until Thickened
Once you’ve adjusted heat accordingly (lowered) allow mixture to simmer gently for about another minute—or until noticeably thickened—as long as it’s still bubbling lightly—that’s key! Remember too much high heat could scramble those precious eggs which nobody wants! A great visual cue here is seeing trails left behind when running spatula through mixture—it should hold its shape nicely rather than immediately collapsing back into itself—a sign we’re right where we need to be!
I can’t wait for you all to try making How to Make Lemon Curd at home—it’s an absolute delight that’s both rewarding and fun! Keep following along as we delve deeper into each step until we’ve created something truly extraordinary together!
How to Make Lemon Curd: The Sweet Symphony of Citrus
Lemon curd is one of those magical concoctions that can transform your desserts from ordinary to extraordinary with just a spoonful. Trust me when I say, the moment you taste that luscious, velvety texture and vibrant citrus burst, you’ll fall head over heels! It’s this beautiful balance of tartness and sweetness that makes lemon curd such a beloved staple in my kitchen. Whether it’s slathered on a warm scone, dolloped on a piece of cheesecake, or even enjoyed straight off the spoon (no judgment here!), understanding how to make lemon curd is one of those culinary skills that will elevate your dessert game to new heights. So, let’s dive into the steps together and savor each part of this delightful journey!
Step 5: Adding Butter and Lemon Rind – The Creamy Embrace
Once you’ve simmered your mixture for about a minute and witnessed it thicken beautifully, it’s time for the grand finale—the addition of butter and grated lemon rind. This step is crucial because the butter enriches the curd, lending it that luxurious texture we all crave, while the lemon rind amplifies the citrus aroma and flavor, creating a truly intoxicating experience. At this stage, remove your saucepan from heat but be ready to move quickly—you want to add the butter while the mixture is still warm to ensure it melts seamlessly into the curd.
Add two tablespoons of unsalted butter—this is your liquid gold! Stir gently with a spatula or wooden spoon until you see that dreamy yellow hue become even creamier. You may notice tiny flecks of grated lemon rind drifting through; this is a sign that you’re on the right path! You’ll want to incorporate every last bit of butter, as its richness balances out the tartness of the lemons. Once combined, transfer this glorious mixture into a bowl; be careful not to let any stray bits cling to your saucepan—every drop counts in this recipe!
Step 6: Cooling – Patience Is Key
Now comes an important phase: cooling your lemon curd. I know waiting can be tough—especially when you’re craving that sweet-tart goodness—but trust me on this one! Allowing your curd to cool at room temperature for about 30 minutes lets all those flavors meld together beautifully. As it cools, you’ll watch as it thickens further; don’t be surprised if you find yourself sneaking little tastes during this period! Just remember: patience pays off in flavor.
After it has cooled down slightly, cover your bowl with plastic wrap or transfer it into an airtight container; this will help prevent any unwanted skin from forming on top (not so appetizing!). It’s essential to refrigerate your lemon curd for at least six hours or overnight if possible. You see, chilling allows everything to set just right and gives you that perfect spoonable consistency you’ll adore. When you finally dig into it after waiting (I promise it’ll be worth it!), you’ll find yourself with a delightfully smooth and thick spread that’s simply irresistible.
Step 7: The Transformation – Witnessing Magic
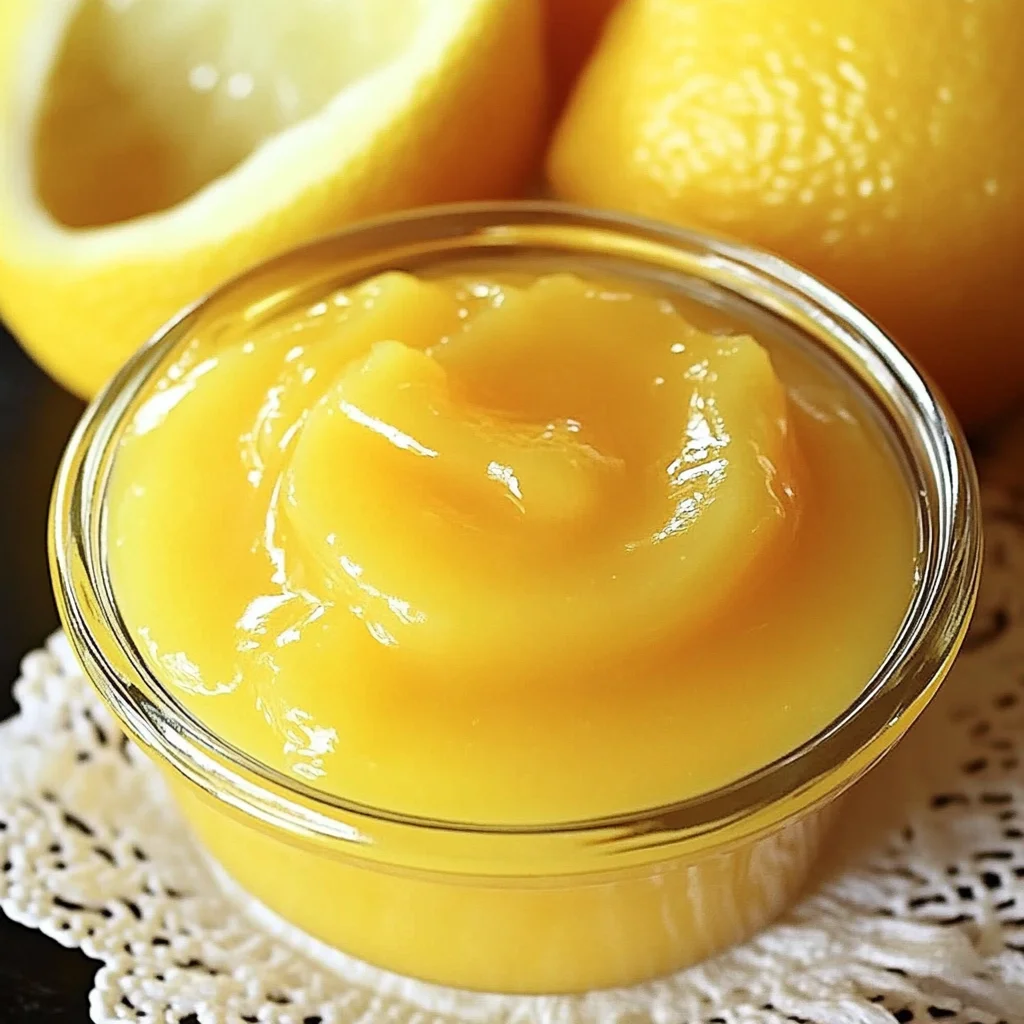
When you finally unveil your chilled lemon curd after its long rest in the refrigerator, prepare yourself for an extraordinary moment. As you open that container or peel back the plastic wrap, take a moment to inhale deeply—let that invigorating citrus scent wash over you like sunshine on a spring morning. You’ll notice how beautifully thick and luscious it has become; this transformation is nothing short of magical! The color should be a bright sun-kissed yellow, reminiscent of summer days spent outdoors.
To test its consistency before diving in headfirst (though I won’t blame you if you do!), give it a gentle stir with a clean spatula or spoon. You want it silky smooth without any lumps—just pure velvety joy ready for spreading or dolloping onto your favorite treats. If it’s too thick for your liking—worry not! A quick whisk can incorporate a little water or additional lemon juice if desired; just remember that each addition should be gradual so as not to overpower those vibrant flavors.
Step 8: Enjoying Your Creation – Serving Suggestions Galore
Now comes one of my favorite parts: serving up this delightful homemade treat! Lemon curd is incredibly versatile; its uses are limited only by your imagination! Picture spreading some on freshly baked scones alongside clotted cream for an afternoon tea experience that feels utterly indulgent. Or perhaps use it as a filling between layers in cakes or tarts—a layer of tangy brightness among rich flavors always creates something profoundly satisfying.
You could also serve it alongside yogurt for breakfast or drizzle some over vanilla ice cream for an exquisite dessert experience that’ll have everyone asking for seconds! The possibilities are truly endless when you know how to make lemon curd because once you’ve made your first batch, you’ll likely find yourself experimenting with different combinations and presentations regularly.
And there you have it—a comprehensive guide on how to make lemon curd that will surely impress anyone lucky enough to enjoy it with you! I encourage you to embrace every moment while making this beautiful recipe—from selecting those zesty lemons at the market to savoring each bite afterward. Cooking isn’t just about nourishment; it’s about creating memories and sharing love through food—and trust me, nothing embodies love quite like homemade lemon curd does!
Storage and Enjoyment Tips for Your How to Make Lemon Curd
Now that you’ve crafted this delightful batch of homemade lemon curd, the real fun begins! Picture yourself dipping a spoon into that luscious, vibrant bowl of sunshine, ready to brighten up your desserts or simply enjoy it straight from the jar. But before you dive in, let’s talk about how to keep your precious lemon curd fresh and zesty for as long as possible. The secret lies in proper storage!
Storing Leftover How to Make Lemon Curd
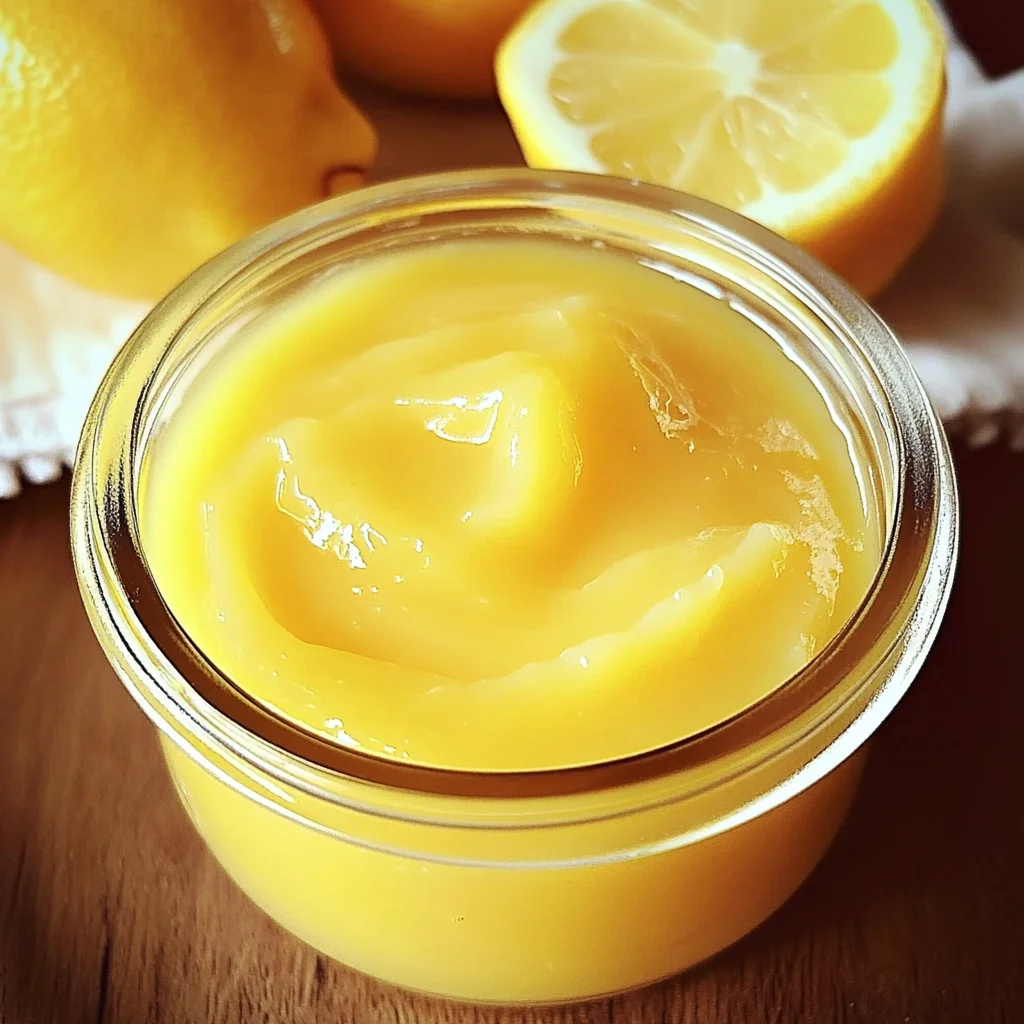
To ensure your lemon curd maintains its irresistible creaminess and vibrant flavor, transfer it to an airtight container—glass jars with tight-fitting lids work wonderfully. This helps prevent that pesky fridge odor from seeping in and affecting the taste. Stored properly, your lemon curd will stay fresh in the refrigerator for about one week. For those who want to savor their creation longer, I have a little pro tip: place a piece of plastic wrap directly on the surface of the curd before sealing it. This non-negotiable step minimizes air contact and maintains that delightful texture. And trust me, even after a few days in the fridge, this lemon curd remains utterly intoxicating; it thickens slightly and develops an even deeper flavor profile. When you’re ready to serve again, just give it a gentle stir and enjoy it at room temperature or slightly chilled—both are absolutely divine!
Freezing Lemon Curd for Later
If you find yourself with more lemon curd than you can possibly consume in a week (which is quite the feat!), freezing is a fantastic option that keeps this liquid gold fresh for up to three months. To freeze your lemon curd properly, simply pour it into freezer-safe containers or silicone ice cube trays—this allows for easy portioning later on. Be sure to leave some space at the top of each container since the curd will expand as it freezes. When you’re ready to use your frozen stash, simply thaw it overnight in the refrigerator or place it in a warm water bath for quicker defrosting. This method not only preserves that bright flavor but also offers incredible convenience for those spontaneous baking adventures or brunch ideas down the line. Imagine pulling out a perfectly preserved jar of homemade lemon curd on a whim—it’s like having sunshine at your fingertips!
With all these tips in mind, I hope you’re brimming with excitement to make this delightful treat last! Your homemade lemon curd is bound to be a showstopper whether enjoyed immediately or saved for later.
How to Make Lemon Curd
Lemon curd is a delightful, creamy spread that embodies the essence of sunny citrus flavors. This homemade treat strikes the perfect balance between tart and sweet, making it an ideal accompaniment for scones, cakes, or even enjoyed straight from the jar. With its smooth texture and vibrant color, lemon curd elevates any dessert into something extraordinary. Whether you’re looking to impress at a gathering or simply satisfy your sweet tooth, this easy lemon curd recipe will surely become a staple in your kitchen.
- Prep Time: 15 minutes
- Cook Time: 10 minutes
- Total Time: 25 minutes
- Yield: Approximately 2 cups of lemon curd (about 32 servings) 1x
- Category: Dessert
- Method: Cooking
- Cuisine: American
Ingredients
- 1 cup + 2 tablespoons granulated sugar
- 1 tablespoon cornstarch
- 1/8 teaspoon salt
- 1 cup fresh lemon juice (approximately 5 lemons)
- 3 large eggs
- 2 tablespoons unsalted butter
- 1 teaspoon grated lemon rind
Instructions
- In a medium saucepan, whisk together the sugar, cornstarch, and salt until well combined.
- Stir in the fresh lemon juice and eggs until fully blended.
- Cook over medium heat, stirring constantly until the mixture thickens and small bubbles appear around the edges (about 6–8 minutes).
- Once thickened, remove from heat and stir in unsalted butter and grated lemon rind until fully melted and incorporated.
- Allow to cool at room temperature for about 30 minutes before transferring to an airtight container. Refrigerate for at least six hours before serving.
Nutrition
- Serving Size: 1 tablespoon (15g)
- Calories: 50
- Sugar: 9g
- Sodium: 10mg
- Fat: 2g
- Saturated Fat: 1g
- Unsaturated Fat: 1g
- Trans Fat: 0g
- Carbohydrates: 11g
- Fiber: 0g
- Protein: 0g
- Cholesterol: 25mg