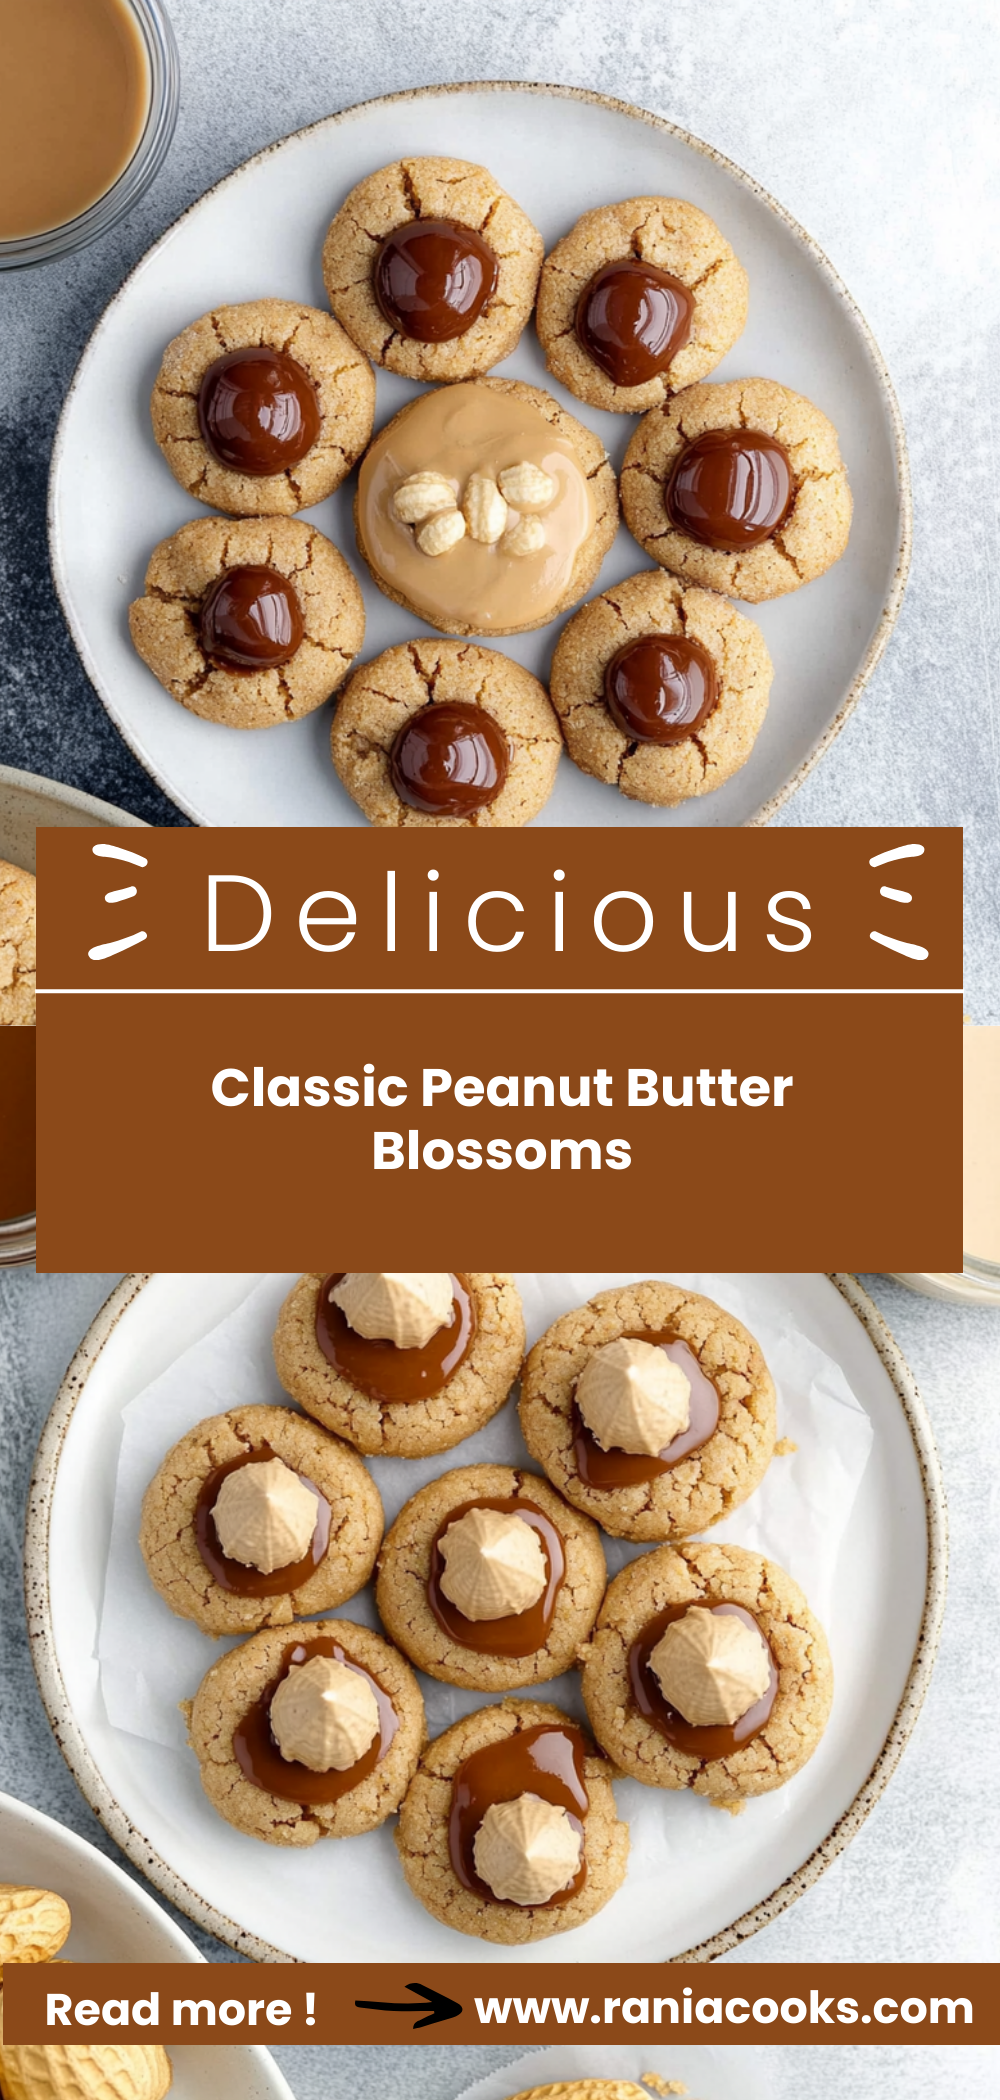
Irresistible Classic Peanut Butter Blossoms Recipe
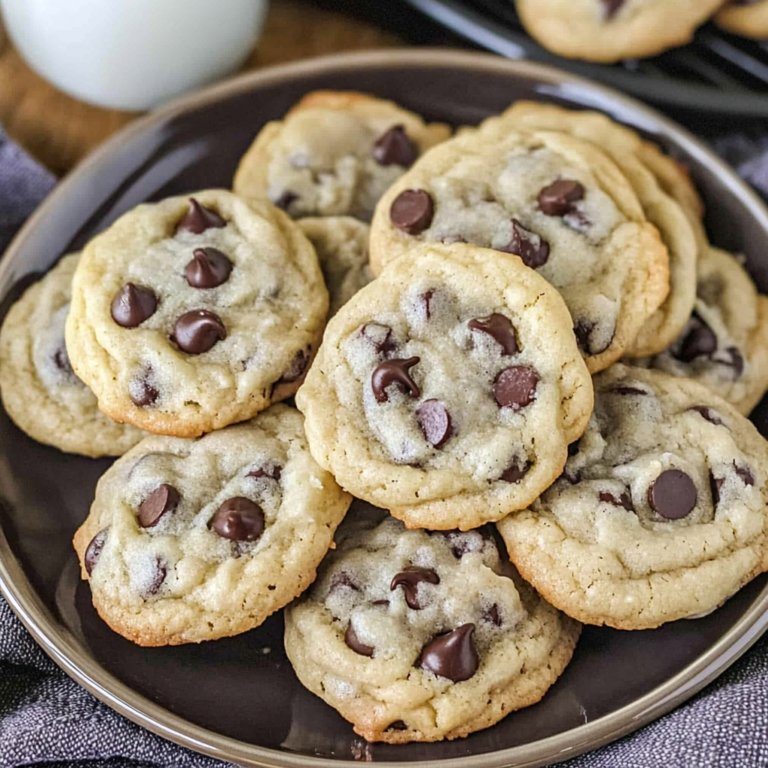
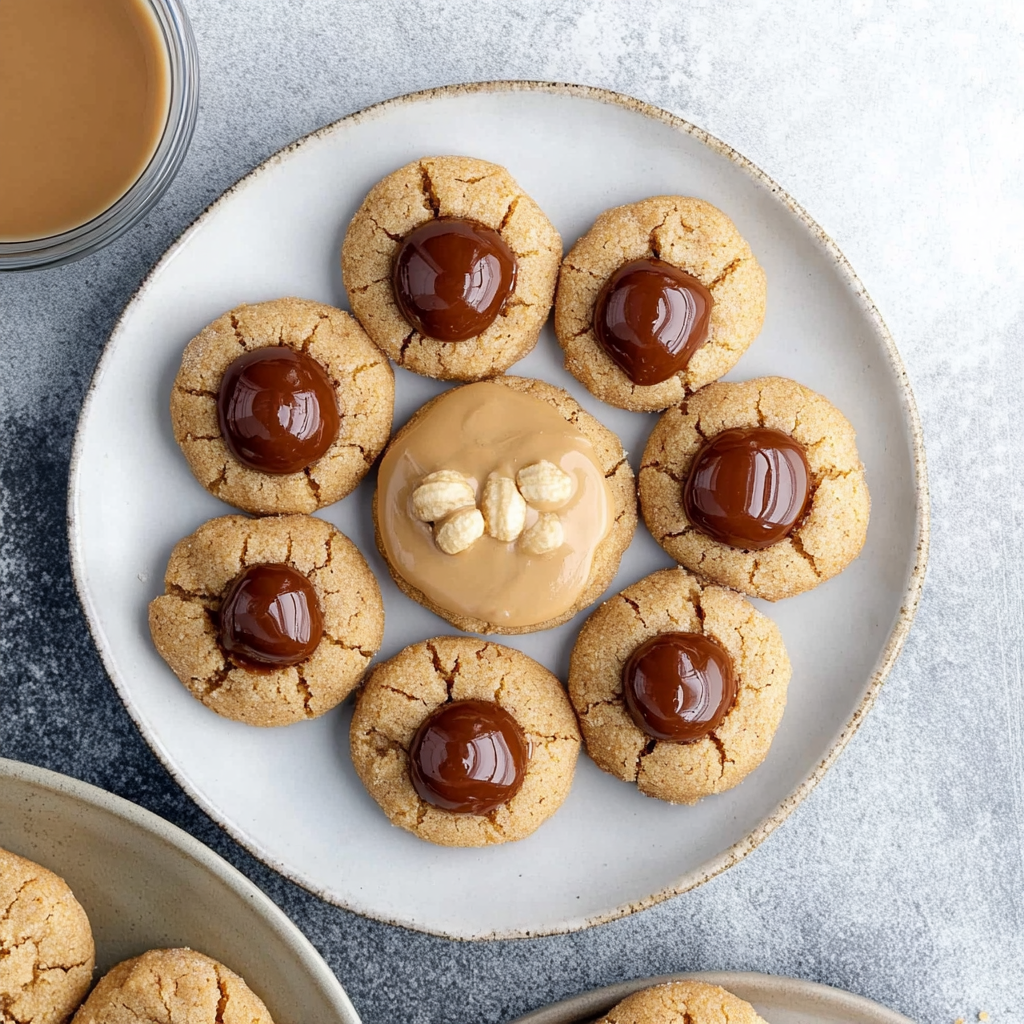
There’s something undeniably nostalgic about the aroma of freshly baked cookies wafting through the kitchen, and Classic Peanut Butter Blossoms are a delightful reminder of that warmth. With their soft, chewy texture and sugary, crackled tops, these cookies are not only a treat for the taste buds but also a feast for the eyes. Topped with a sweet milk chocolate kiss, they’re perfect for any occasion—whether it’s a cozy holiday gathering, an afternoon snack, or simply a way to brighten your day.
These cookies have become a cherished favorite in many households. Their uncomplicated preparation means you can whip them up quickly, turning any moment into a special one. Plus, who can resist that first bite? The combination of peanut butter and chocolate is simply irresistible!
Why You’ll Love This Recipe
– Easy to make: The straightforward instructions make it accessible for bakers of all skill levels.
– Perfectly sweet: The balance of flavors ensures each bite is deliciously satisfying.
– Great for sharing: With 48 cookies in this recipe, they’re ideal for gatherings or gifting to friends.
– Fun to decorate: Let your creativity shine by experimenting with different toppings or shapes.
– Kid-friendly: Kids love helping out in the kitchen and will enjoy decorating these fun cookies!
Ingredients You’ll Need
Before you begin baking, let’s gather all the ingredients you’ll need to create these scrumptious Classic Peanut Butter Blossoms. Having everything ready will make your baking experience smooth and enjoyable.
For the Dough
– 1 3/4 cup All-Purpose Flour
– 1 tsp Baking Soda
– 1/2 tsp Salt
– 1/2 cup Creamy Peanut Butter
– 1/2 cup Unsalted Butter (room temperature)
– 1/2 cup Granulated Sugar
– 1/2 cup Light Brown Sugar (lightly packed)
– 1 Large Egg
– 2 tbsp Milk
– 1 tsp Vanilla Extract
For Coating and Topping
– 1/2 cup Granulated Sugar (additional amount for coating cookies)
– 11 oz Bag of Hershey Kisses
Variations
Baking is all about flexibility and creativity! Feel free to experiment with these fun variations to personalize your Classic Peanut Butter Blossoms:
– Swap in crunchy peanut butter: For added texture and a different flavor profile, use crunchy peanut butter instead of creamy.
– Try different chocolates: Use dark chocolate or even white chocolate kisses for a unique twist on the classic flavor combination.
– Add spices: A pinch of cinnamon or nutmeg can elevate the flavor profile and give your cookies an extra warm touch.
– Make them gluten-free: Substitute all-purpose flour with gluten-free flour blend to accommodate dietary preferences.
How to Make Classic Peanut Butter Blossoms
Now that we have our ingredients ready, let’s dive into making these delightful cookies! Follow these step-by-step instructions for perfect results every time.
Step 1: Prepare the Dry Ingredients
In a medium bowl, whisk together the all-purpose flour, baking soda, and salt. This ensures that your leavening agent is evenly distributed throughout the flour mixture, which is essential for achieving that soft and fluffy cookie texture.
Step 2: Cream Together the Butters and Sugars
Using a hand mixer or stand mixer fitted with a paddle attachment, cream together the peanut butter, unsalted butter, granulated sugar, and light brown sugar on medium-high speed until well blended. This step is crucial as it incorporates air into the mixture, leading to lighter cookies.
Step 3: Incorporate Wet Ingredients
Add in the egg, milk, and vanilla extract. Scrape down the sides of the bowl as needed to ensure everything gets mixed well. The wet ingredients help bind everything together while adding moisture for that chewy texture we love.
Step 4: Combine Dry and Wet Mixtures
Reduce the mixer speed and gradually add in the dry mixture until completely blended. Mixing at a lower speed prevents flour from flying everywhere while ensuring an even distribution throughout the dough.
Step 5: Chill the Dough
Place the cookie dough in a well-sealed food container or tightly wrap the top of your mixing bowl with plastic wrap (or alternative) and chill in the refrigerator for at least one hour. Chilling helps solidify fats in the dough which enhances flavor and prevents spreading during baking.
Step 6: Preheat Your Oven
After chilling, line two baking sheets with parchment paper or silicone mats. Adjust your oven rack to just above center and preheat it to 375°F. Proper preheating ensures that your cookies bake evenly from start to finish.
Step 7: Shape Cookie Balls
Using a spoon and your clean hands, shape cookie dough into one-inch balls. Roll them in granulated sugar before placing them about 1½ -2 inches apart on lined baking sheets. Rolling in sugar adds sweetness and creates that lovely crackle effect while baking.
Step 8: Bake First Time
Bake for seven to eight minutes until lightly golden around the edges but still soft in the center. Remove from oven and immediately place a milk chocolate kiss on each cookie while pressing down gently. This step creates those beautiful cracked edges as they bake further.
Step 9: Bake Again
Return to oven and bake for an additional two minutes. This final baking allows everything to meld perfectly together while ensuring that delightful chocolate kiss becomes slightly melty.
Step 10: Cool Down
Allow cookies to cool on baking sheet for five to ten minutes before transferring them onto a cooling rack to cool completely. Cooling helps set their shape while maintaining that soft interior we adore.
Step 11: Store Properly
Store cookies in an airtight container with a slice of bread for up to one week. The slice of bread helps maintain moisture so you can enjoy these treats even longer!
With these easy-to-follow steps, you’ll have classic peanut butter blossoms ready to share (or keep all to yourself). Happy baking!
Pro Tips for Making Classic Peanut Butter Blossoms
Baking cookies can be a delightful experience, especially when it comes to Classic Peanut Butter Blossoms! Here are some tips to ensure your cookies turn out perfect every time.
– Use room temperature ingredients: Make sure your butter and egg are at room temperature. This helps create a smoother batter and promotes even baking.
– Don’t skip the chilling step: Chilling the dough allows the flavors to meld and helps prevent the cookies from spreading too much in the oven.
– Roll dough tightly: When shaping the cookie balls, ensure they are rolled tightly. This helps them maintain their shape while baking.
– Watch your baking time: Ovens can vary, so keep an eye on your cookies during the last few minutes. They should be lightly golden around the edges but still soft in the middle.
– Add a personal touch: Feel free to swap out Hershey Kisses with other candies or chocolate varieties if you want to experiment with flavors!
How to Serve Classic Peanut Butter Blossoms
These cookies are not only delicious but also visually appealing! Here are some creative ways to serve them.
Garnishes
– Drizzle with melted chocolate: A simple drizzle of melted chocolate over the top adds a beautiful touch.
– Sprinkle with sea salt: A light sprinkle of flaky sea salt enhances the sweet and salty flavor profile of the cookies.
Side Dishes
– Glass of milk: Pair these cookies with a cold glass of milk for a classic combination.
– Hot cocoa or coffee: Enjoy your cookies alongside a warm cup of hot cocoa or freshly brewed coffee for a cozy treat.
– Fresh fruit platter: Balance out the sweetness with a platter of fresh fruits like strawberries or apple slices.
Make Ahead and Storage
Meal prep can make your baking experience so much easier! Here’s how you can store and prepare your delicious cookies ahead of time.
Storing Leftovers
– Keep in an airtight container: Store leftover cookies in an airtight container at room temperature for up to one week.
– Add a slice of bread: Including a slice of bread in the container helps keep cookies soft and moist.
Freezing
– Freeze unbaked dough: Shape cookie balls, freeze them on a baking sheet, then transfer to an airtight container or freezer bag for up to 3 months. Bake straight from frozen by adding an extra minute or two to the baking time.
– Freeze baked cookies: Allow baked cookies to cool completely before placing them in an airtight container or freezer bag. They can also be frozen for up to 3 months.
Reheating
– Microwave method: Warm individual cookies for about 10 seconds in the microwave for that fresh-baked taste.
– Oven method: Preheat oven to 350°F (175°C) and heat cookies on a baking sheet for about 5 minutes until warmed through.
FAQs
Baking can raise many questions! Here are some common ones about Classic Peanut Butter Blossoms.
Can I use crunchy peanut butter instead?
Yes, you can substitute crunchy peanut butter for creamy peanut butter if you prefer added texture and crunch in your cookies.
What should I do if my dough is too sticky?
If your cookie dough is too sticky after chilling, try adding a little more flour gradually until it reaches a manageable consistency.
Can I use different types of chocolate?
Absolutely! While classic recipes call for milk chocolate kisses, feel free to use dark chocolate or even flavored chocolates if you want to mix things up.
Final Thoughts
I hope you find joy in making these Classic Peanut Butter Blossoms! They’re perfect for any occasion, whether it’s holiday gatherings or just because. Don’t hesitate to share your creations with family and friends; I’m sure they’ll love them as much as you will! Happy baking!
Classic Peanut Butter Blossoms
Ingredients
Method
- In a medium bowl, whisk together the all-purpose flour, baking soda, and salt.
- Cream together the peanut butter, unsalted butter, granulated sugar, and light brown sugar until well blended.
- Add in the egg, milk, and vanilla extract, mixing well.
- Gradually add in the dry mixture until completely blended.
- Chill the dough in the refrigerator for at least one hour.
- Preheat your oven to 375°F and line baking sheets with parchment paper.
- Shape cookie dough into one-inch balls and roll them in granulated sugar.
- Bake for seven to eight minutes until lightly golden, then press a chocolate kiss on each cookie.
- Return to oven and bake for an additional two minutes.
- Allow cookies to cool on baking sheet for five to ten minutes before transferring to a cooling rack.
- Store cookies in an airtight container with a slice of bread for up to one week.