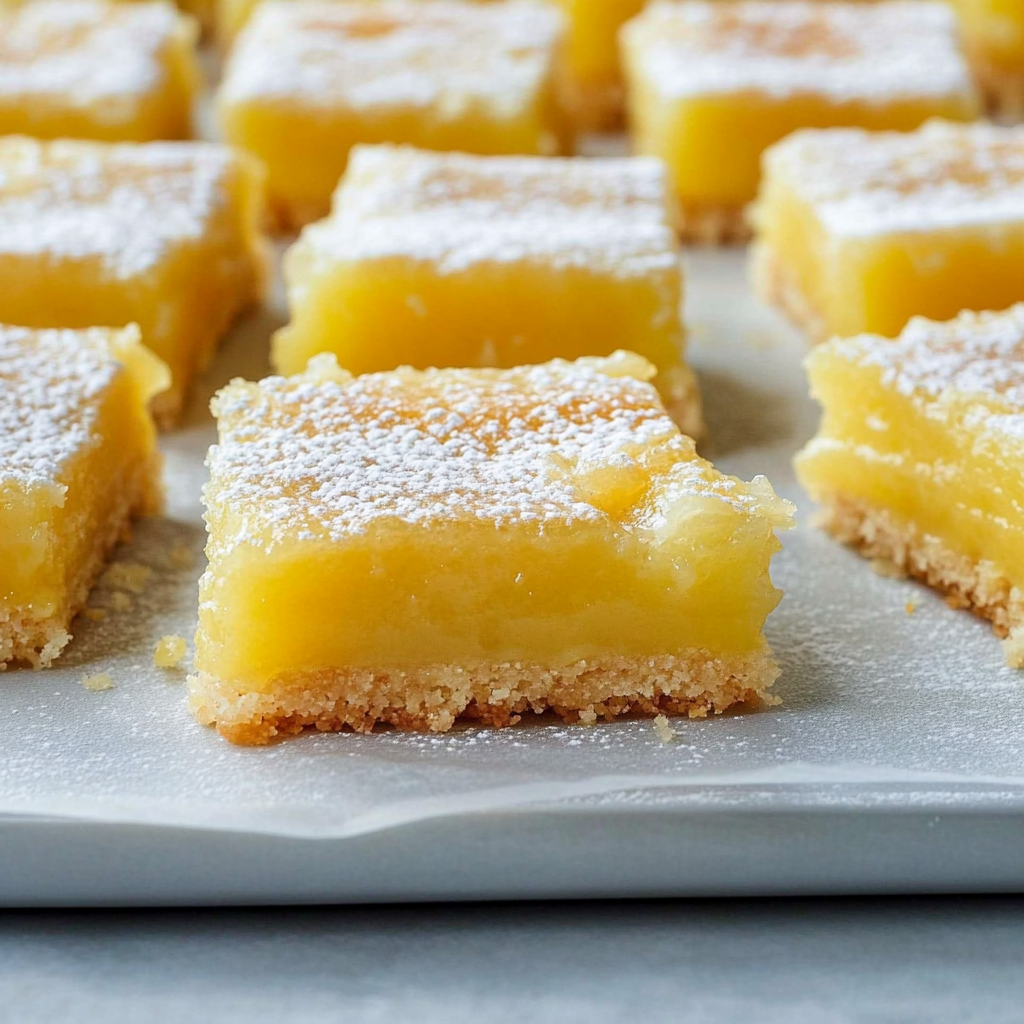
Ultimate Pioneer Woman Lemon Bars: Irresistibly Delicious!
Creating the perfect dessert can feel like a daunting task, but let me tell you about one of my all-time favorites: Pioneer Woman Lemon Bars: An Amazing Ultimate Recipe. These delightful treats are not just your average lemon bars; they are a burst of sunshine in every bite! The bright, tangy filling paired with a buttery crust makes them an irresistible choice for any gathering. Whether you’re hosting a picnic, celebrating a birthday, or simply want to brighten up your week, these lemon bars are sure to impress.
What I love most about this recipe is how simple it is to make. With just a handful of ingredients and straightforward steps, you’ll have a tray full of delicious lemon bars that will leave everyone asking for seconds. Trust me; once you try this recipe, it will become your go-to for all occasions!
Why You’ll Love This Recipe
– Refreshing flavor: The zesty lemon filling provides a perfect balance of sweetness and tartness.
– Easy to make: With simple steps and common ingredients, even novice bakers can create this delightful dessert.
– Perfect for sharing: Cut them into squares and serve at gatherings; they are always a hit!
– Versatile treat: Great for any occasion—picnics, parties, or just because!
– Make-ahead option: Prepare in advance and store in the fridge for easy serving later.
Ingredients You’ll Need
Before we dive into the cooking process, let’s gather the ingredients you’ll need to whip up these amazing lemon bars. It’s always best to have everything ready before you start baking!
For the Crust
– 1 cup unsalted butter, softened
– ½ cup granulated sugar
– 2 cups all-purpose flour
– ¼ teaspoon salt
For the Filling
– 4 large eggs
– 1 ½ cups granulated sugar
– ¼ cup all-purpose flour
– 1 cup freshly squeezed lemon juice (about 4-5 lemons)
– Zest of 2 lemons
For Serving (Optional)
– Powdered sugar for dusting
Variations
One of the best things about baking is the room for creativity! Feel free to customize these lemon bars to suit your taste or occasion.
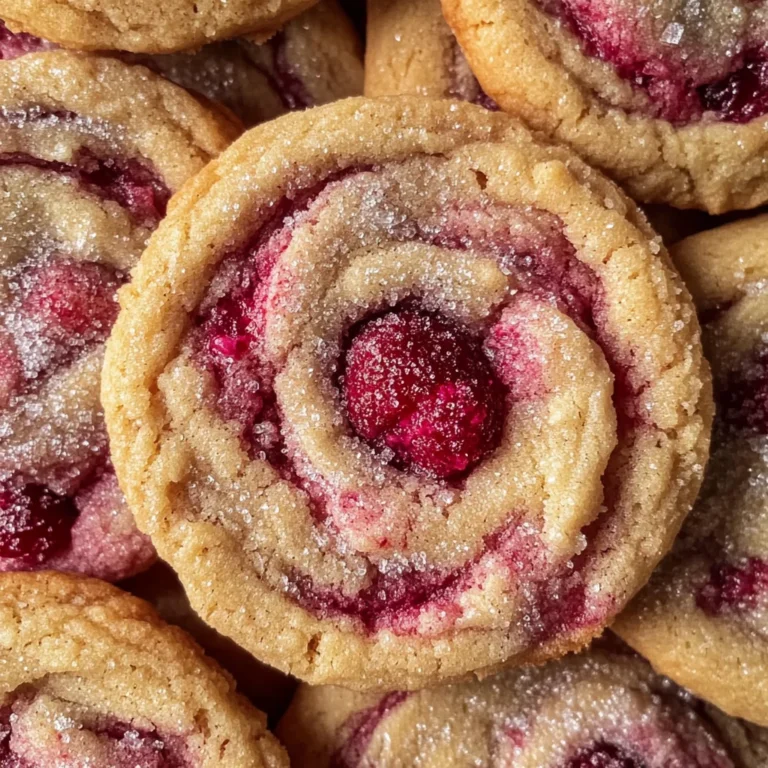
– Add berries: Fold in some fresh blueberries or raspberries into the filling before baking for an extra fruity twist.
– Swap the citrus: Try using lime juice and zest instead of lemon for a different flavor profile.
– Infuse with herbs: Add fresh mint or basil chopped finely into the filling for a unique herbal note.
– Make it gluten-free: Substitute regular flour with a gluten-free all-purpose blend.
How to Make Pioneer Woman Lemon Bars: An Amazing Ultimate Recipe
Step 1: Preheat Your Oven
Begin by preheating your oven to 350°F (175°C). This ensures that your lemon bars bake evenly. While that’s heating up, take out your baking pan—a greased 9×13-inch pan works perfectly.
Step 2: Make the Crust
In a large mixing bowl, cream together the softened butter and granulated sugar until light and fluffy. This step is crucial as it helps incorporate air into your mixture, making your crust tender and delicious. Gradually add in the flour and salt, mixing until combined. You want this mixture to resemble coarse crumbs—this texture is key for achieving that perfect crust.
Step 3: Press the Crust
Next, press the crust mixture evenly into the bottom of your prepared pan. Use your hands or the back of a measuring cup to create an even layer across the base. The more uniform you make it now, the better your bars will look when they’re done!
Step 4: Bake the Crust
Bake in your preheated oven for about 15-20 minutes or until lightly golden. Keep an eye on it—the last thing you want is burnt edges! Once baked, remove from the oven and let it cool slightly while you prepare the filling.
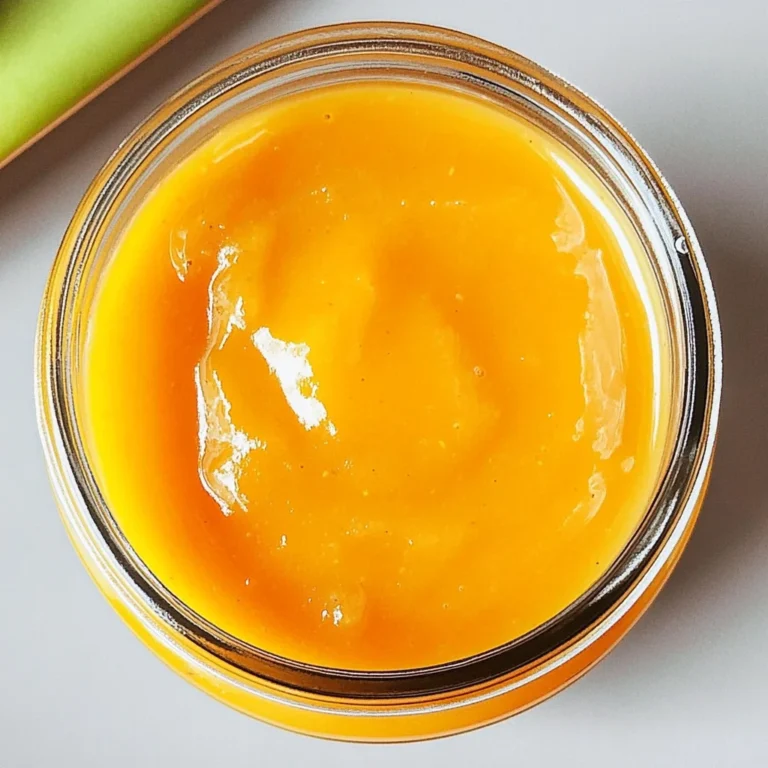
Step 5: Prepare the Filling
In a separate bowl, beat together the four eggs until frothy. This adds volume to your filling! Then add in granulated sugar, flour, freshly squeezed lemon juice, and lemon zest. Whisk everything until smooth—this will ensure there are no lumps in your lovely filling.
Step 6: Combine Filling with Crust
Pour that zesty lemon filling over your pre-baked crust. Spread it evenly with a spatula to ensure every bite has that delicious lemon flavor.
Step 7: Bake Again
Return the pan to your oven and bake again for an additional 20-25 minutes. You’ll know it’s done when the filling is set and slightly firm—it should have a little jiggle but not be runny.
Step 8: Cool Completely
Once out of the oven, allow your delicious creation to cool at room temperature for at least 1-2 hours or until fully set. Patience is key here; cooling helps achieve those clean cuts later on!
Step 9: Cut and Serve
Finally, once cooled completely, dust with powdered sugar if desired before cutting into squares. Plate them up and get ready for compliments—you’ve just made an incredible batch of Pioneer Woman Lemon Bars that everyone will adore!
Pro Tips for Making Pioneer Woman Lemon Bars: An Amazing Ultimate Recipe
Creating the perfect batch of lemon bars can be a delightful experience. Here are some tips to ensure your Pioneer Woman Lemon Bars turn out simply amazing every time!
– Use fresh lemons: Freshly squeezed lemon juice and zest will provide the brightest flavor, elevating your bars to another level.
– Don’t skip cooling time: Allowing the bars to cool completely before cutting helps them set properly and makes for cleaner cuts.
– Adjust sweetness: If you prefer a sweeter filling, feel free to increase the sugar by a couple of tablespoons to suit your taste.
– Line the pan: For easier removal and less mess, consider lining your baking pan with parchment paper before adding the crust mixture.
– Dust just before serving: To keep the powdered sugar from dissolving, dust it on right before serving for that beautiful presentation.
How to Serve Pioneer Woman Lemon Bars: An Amazing Ultimate Recipe
When it’s time to enjoy your delicious lemon bars, there are plenty of ways to present this treat beautifully! Here are some ideas to enhance your serving experience.
Garnishes
– Fresh mint leaves: Adding a sprig of mint gives a fresh touch and a pop of color.
– Lemon slices: A thin slice of lemon on top can enhance both the look and flavor.
– Whipped cream: A dollop of non-dairy whipped cream adds a creamy contrast.
Side Dishes
– Fresh fruit salad: A light and refreshing fruit salad complements the tartness of the lemon bars.
– Iced tea or lemonade: Serve with a refreshing drink to balance the sweetness.
– Cheesecake bites: Mini cheesecake bites offer a delightful contrast in flavors and textures.

Make Ahead and Storage
Meal prepping is a great way to enjoy these scrumptious lemon bars without any hassle. Here’s how you can store them for later enjoyment!
Storing Leftovers
– Keep in an airtight container: Store any remaining lemon bars in an airtight container at room temperature for up to three days.
– Refrigerate for longer freshness: If you’d like them to last longer, place them in the fridge where they can stay fresh for about a week.
Freezing
– Wrap individually: For freezing, wrap each bar tightly in plastic wrap or aluminum foil before placing them in a freezer-safe container.
– Label and date: Don’t forget to label your container with the date so you know when they were made. They can be frozen for up to three months.
Reheating
– Thaw first: When you’re ready to enjoy your frozen lemon bars, take them out of the freezer and let them thaw in the refrigerator overnight.
– Enjoy chilled or at room temperature: These bars taste great straight from the fridge or at room temperature—no need for reheating!
FAQs
You might have some questions about making Pioneer Woman Lemon Bars. Here are answers to common inquiries!
Can I use bottled lemon juice instead of fresh?
While bottled lemon juice is convenient, using fresh lemons provides better flavor that truly elevates your lemon bars.
Can I substitute gluten-free flour?
Yes! You can use gluten-free all-purpose flour as a 1-to-1 substitute, ensuring everyone can enjoy this delightful treat.
How do I know when my filling is set?
The filling should look slightly firm around the edges but still have a slight jiggle in the center when you take it out of the oven.
Final Thoughts
I hope you find joy in making these Pioneer Woman Lemon Bars! They’re not just easy but also incredibly satisfying, perfect for sharing with friends or enjoying as a sweet treat after dinner. Give this recipe a try, and I’m sure you’ll fall in love with their bright flavor just like I did! Happy baking!
Pioneer Woman Lemon Bars
Ingredients
Method
- Preheat your oven to 350°F (175°C).
- Cream together the softened butter and granulated sugar until light and fluffy. Gradually add in the flour and salt, mixing until combined.
- Press the crust mixture evenly into the bottom of your prepared pan.
- Bake in your preheated oven for about 15-20 minutes or until lightly golden.
- In a separate bowl, beat together the four eggs until frothy. Then add in granulated sugar, flour, freshly squeezed lemon juice, and lemon zest. Whisk until smooth.
- Pour the lemon filling over your pre-baked crust and spread it evenly.
- Return the pan to your oven and bake again for an additional 20-25 minutes until the filling is set.
- Allow to cool at room temperature for at least 1-2 hours or until fully set.
- Dust with powdered sugar if desired before cutting into squares.