Layered Banana Pudding: Creamy and Delightful Treats
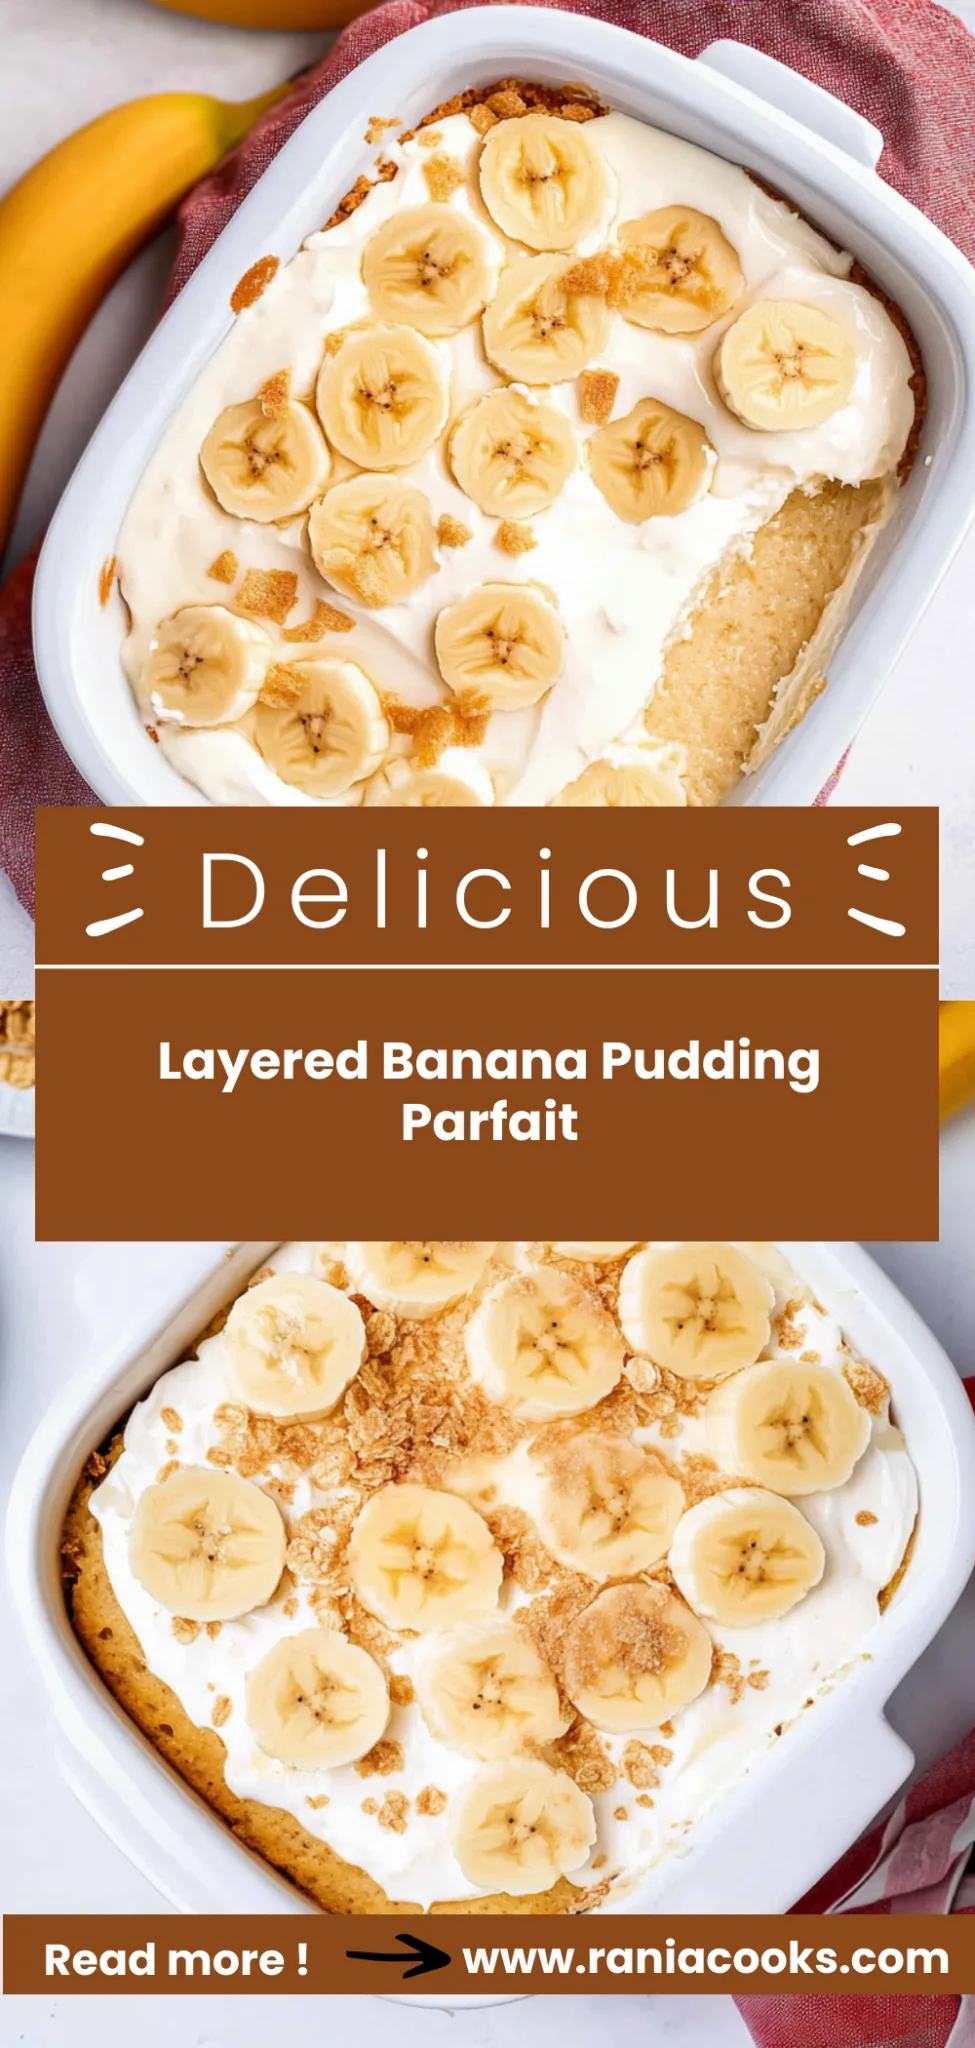
There’s nothing quite like diving into a bowl of Layered Banana Pudding, where each spoonful delivers creamy, dreamy goodness that satisfies every sweet craving. Imagine the delightful contrast of textures: silky pudding, fresh bananas, and a satisfying crunch from vanilla wafers, all coming together in a harmony of flavors. I created this recipe during one of those bustling weeks when dinner prep felt overwhelming, yet I wanted to treat my family to something special without spending hours in the kitchen. With just 320 calories per serving and a boost of protein from the creamy layers, it’s a dessert that not only tastes indulgent but also fits into our busy lives.
I still remember the first time I made this Layered Banana Pudding for my family on a sunny Saturday afternoon. As I layered the ingredients in a clear dish, my youngest exclaimed, “Mom, it looks like a dessert rainbow!” The key twist that sets this pudding apart is using ripe bananas for natural sweetness instead of relying solely on sugar. When it was finally time to dig in, my oldest couldn’t help but ask for seconds, declaring it “the best dessert ever!” It was moments like these that turned an ordinary day into a cherished family memory.
Ingredients for the Layered Banana Pudding
Each ingredient in this dish plays an essential role in flavor and texture. Here’s what you’ll need:
- 2 cups whole milk: Provides a creamy base for the pudding layer.
- 1/2 cup granulated sugar: Adds the perfect amount of sweetness to balance flavors.
- 1/3 cup cornstarch: Acts as a thickening agent to achieve that luscious pudding consistency.
- 1/4 teaspoon salt: Enhances the overall flavor profile of the dessert.
- 1 teaspoon vanilla extract: Infuses the pudding with warm, inviting flavor notes.
- 3 large egg yolks: Contributes richness and a velvety texture to the pudding.
- 4 medium ripe bananas (sliced): Adds natural sweetness and a fresh, fruity element.
- 1 box vanilla wafers: Provides delightful crunch and texture between layers.
- 1 cup whipped cream: Creates a light, airy topping that brings it all together.
Step-by-Step Instructions
I recommend starting by whisking together the sugar, cornstarch, and salt first since this will allow you to get the pudding base going while preparing the other layers.
Step 1: In a mixing bowl, whisk together the granulated sugar, cornstarch, and salt until well combined. This dry mixture is key for thickening your pudding, so make sure there are no lumps. I find that using a whisk helps incorporate air and ensures an even texture in your final pudding.
Step 2: In a saucepan over medium heat, pour in the whole milk and heat it until it begins to steam, but don’t let it boil. Gradually whisk in your dry mixture into the hot milk to avoid clumping. Stir continuously as you combine them; this step is crucial because it helps to dissolve the cornstarch fully and creates a smooth pudding base.
Step 3: Keep cooking the mixture while stirring constantly until it thickens and starts to bubble gently—this usually takes about 5-7 minutes. You’ll know it’s ready when you can see bubbles breaking on the surface and it coats the back of a spoon. It’s tempting to rush this step, but patience builds a rich flavor.
Step 4: Once thickened, remove your saucepan from heat and stir in the egg yolks and vanilla extract until everything is smooth and well incorporated. The warmth of the pudding will gently cook the egg yolks without scrambling them, adding richness to your dessert that my family loves.
Step 5: Allow the pudding to cool for about 30 minutes at room temperature before moving on to layering. This cooling time is essential; otherwise, your bananas might get mushy or brown when layered in too soon. I usually prep my other ingredients during this waiting period so everything flows nicely into assembly.
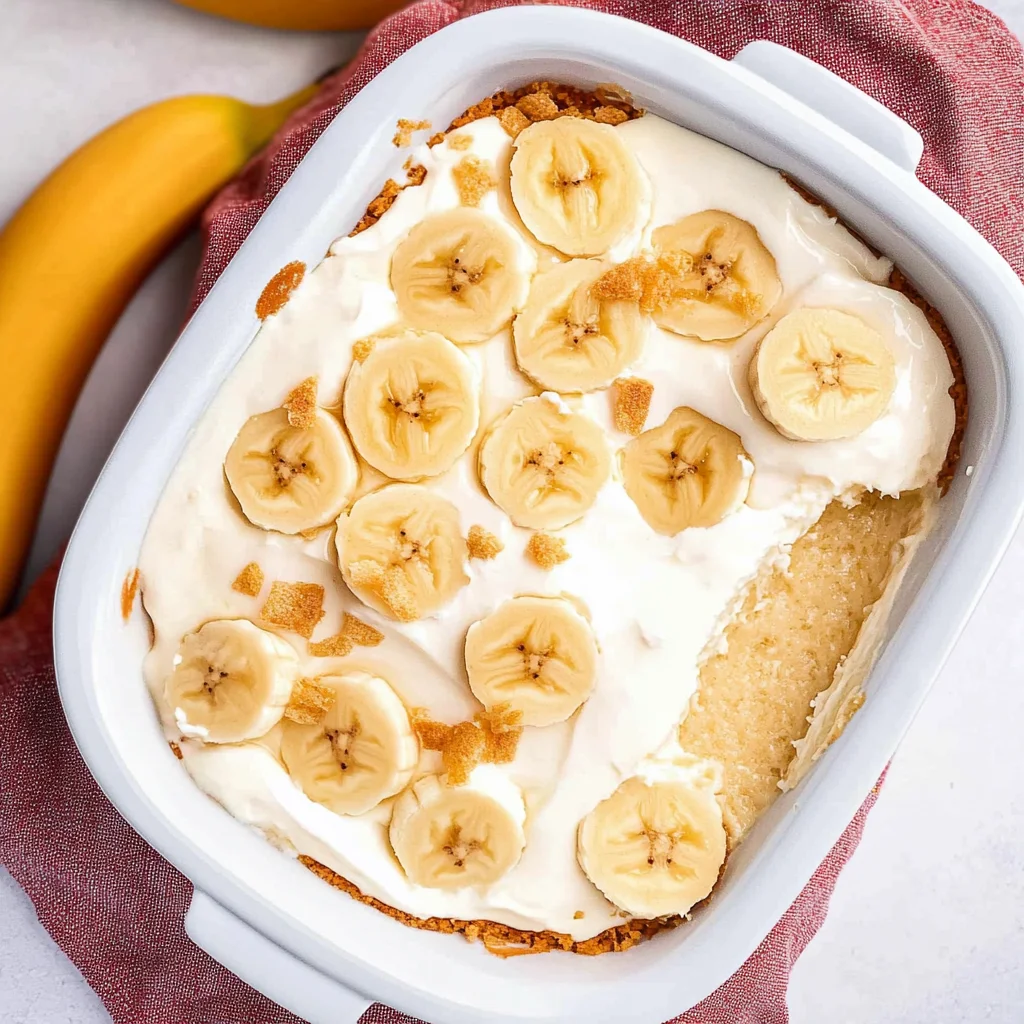
Step 6: In a 9×9 inch dish, layer half of the vanilla wafers evenly on the bottom. Don’t be afraid to overlap them slightly for better coverage; this ensures every bite has that delightful crunch we all love in layered desserts.
Step 7: Next, add a layer of sliced bananas over the wafers, distributing them evenly across the dish. Make sure to use ripe bananas for optimal sweetness—this adds great flavor without needing extra sugar later on!
Step 8: Pour half of your cooled pudding over the bananas carefully and spread it evenly with a spatula to ensure all bananas are covered completely. This will help prevent browning and keeps everything moist throughout each layer—trust me, it’s worth taking your time here!
Step 9: Repeat with another layer by adding the remaining vanilla wafers followed by more sliced bananas and finally pouring over the last bit of pudding on top again spreading evenly as you go along. This repeated layering not only looks beautiful but also enhances flavor depth as each ingredient melds together over time in refrigeration.
Step 10: To finish off your dessert, top with one cup of whipped cream spread generously across the pudding layer for added creaminess before refrigerating for at least two hours before serving. Chilling allows all those delicious flavors to meld beautifully, making each bite heavenly when you dig in!
What to Serve with Layered Banana Pudding
This bowl is already incredibly filling and balanced, but these sides add extra variety and nutrition to round out your meal perfectly.
Fresh Spinach Salad with Balsamic Vinaigrette: A light salad made with fresh spinach, cherry tomatoes, and a tangy balsamic vinaigrette complements the rich creaminess of the pudding. The crispness of the veggies adds a refreshing contrast in texture while providing essential vitamins A and K. We often make this salad for family gatherings as it brightens up the table and keeps everyone feeling light after dessert.
Coconut Quinoa: Fluffy quinoa cooked in coconut milk gives a subtle sweetness that echoes the flavors of banana pudding while adding a chewy texture. This dish offers about 8 grams of protein per serving, making it an excellent choice for those looking to boost their macros. My kids love it when I serve this alongside sweeter treats, as they feel like they’re getting something special without sacrificing nutrition.
Creamy Avocado Toast: Whole grain bread topped with smashed avocado, a sprinkle of salt, and a drizzle of olive oil provides healthy fats that balance the sugar from the dessert. The creamy avocado mirrors the pudding’s richness while adding fiber and heart-healthy fats that keep hunger at bay. This has become our go-to snack on lazy weekends, especially when we have leftover toast from breakfast.
Vanilla Bean Rice Pudding: This warm dessert made with jasmine rice, almond milk, and vanilla bean carries over the pudding theme beautifully while offering a comforting texture. With about 6 grams of protein per serving, it adds another layer of indulgence without being overly sweet. My family loves having this as a meal prep option for busy weeks; it’s perfect for satisfying those sweet cravings healthily!
Storage & Serving Tips
To store your Layered Banana Pudding, place the pudding layer in an airtight container and keep it in the fridge for up to 4 days. For the best texture, store the sliced bananas separately in a small container with a sprinkle of lemon juice to prevent browning. The vanilla wafers should also be stored in their original box or an airtight container to maintain their crunchiness. Finally, keep the whipped cream in a separate container, ideally covered tightly, so it stays fluffy until you’re ready to serve.
When it comes to reheating, avoid microwaving as it makes the pudding layer overly soft and unappetizing. Instead, if you need to warm up any components, gently reheat the pudding on the stovetop over low heat for about 5 minutes until just warm, stirring frequently. The vanilla wafers are best served cold and shouldn’t be reheated; instead, add them fresh when assembling. For an ideal serving temperature, let the assembled dessert sit at room temperature for about 10 minutes before serving to enhance flavors.
Pro tip: To batch cook Layered Banana Pudding for meal prep, consider doubling the recipe on a Sunday and portioning it out into individual containers for the week. This way, everyone can assemble their own dessert by layering the pudding with fresh bananas and crunchy wafers just before eating—keeping everything fresh! For variety throughout the week, swap out bananas for other fruits like strawberries or peaches, and use chocolate wafers instead of vanilla for a different flavor profile. To maintain optimal freshness of the whipped cream, add it right before serving rather than storing it layered with other ingredients.
Conclusion
This Layered Banana Pudding has become one of those recipes I make at least once a week because it’s genuinely easy, incredibly satisfying, and delivers 320 calories of pure dessert bliss without any guilt. The rich creaminess from the combination of whole milk and egg yolks truly sets this pudding apart from typical banana desserts, making each layer a heavenly experience. Give this one a try this week. I promise it’ll become a regular rotation dessert in your house too.
Layered Banana Pudding
Ingredients
Method
- In a mixing bowl, whisk together the sugar, cornstarch, and salt.
- In a saucepan, heat the milk over medium heat until it begins to steam, then gradually whisk in the dry mixture.
- Continue to cook, stirring constantly, until the mixture thickens and bubbles.
- Remove from heat and stir in the egg yolks and vanilla extract until smooth.
- Let the pudding cool for about 30 minutes.
- In a 9x9 inch dish, layer half of the vanilla wafers on the bottom.
- Add a layer of sliced bananas over the wafers.
- Pour half of the pudding over the bananas and spread evenly.
- Repeat the layers with the remaining wafers, bananas, and pudding.
- Top with whipped cream and refrigerate for at least 2 hours before serving.