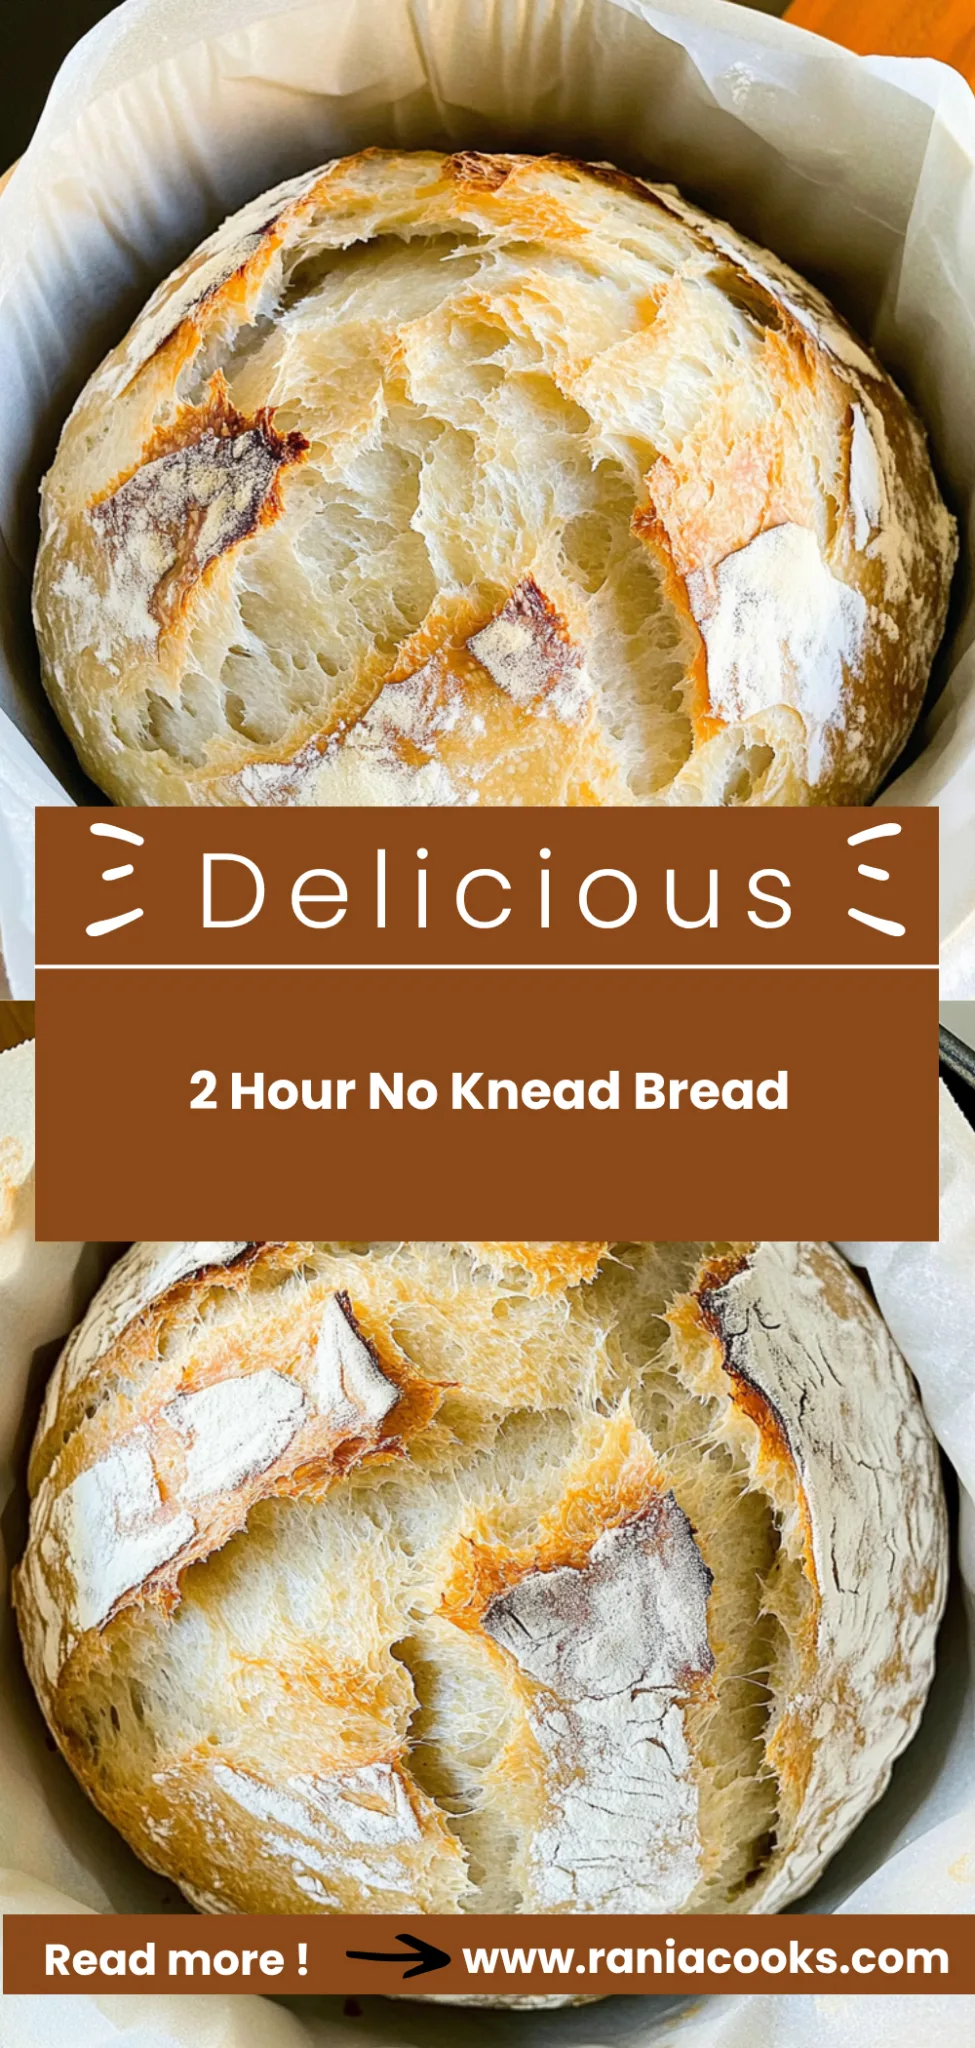
2 Hour No Knead Bread: Effortlessly Delicious Loaf
There’s nothing quite like the aroma of freshly baked bread wafting through your kitchen, and with my 2 Hour No Knead Bread, you can experience that bliss without the fuss of traditional kneading. Imagine sinking your teeth into a warm, crusty loaf that’s crispy, savory, fresh, and surprisingly loaded with protein—each slice boasts around 200 calories! I created this recipe on one of those busy weekdays when I wanted to whip up something special for my family without spending hours in the kitchen. It’s perfect for meal prep and using up leftovers while still delivering that homemade goodness we all crave.
I’ll never forget the first time I made this bread; it was a chilly Saturday afternoon when my teenagers came home from soccer practice, their cheeks flushed and eyes wide with hunger. As the golden crust turned a perfect shade of brown, I could hardly wait to cut into it. “Mom, is that bread?” my youngest exclaimed as he rushed to the kitchen. The secret to its delightful texture? A simple twist—allowing a longer rise time brings out the flavor without any kneading required. That day ended with my kids devouring half the loaf in minutes, and I couldn’t help but smile when they asked for more, declaring it the best bread ever!
Ingredients for the 2 Hour No Knead Bread
Each ingredient in this dish plays an essential role in flavor and texture. Here’s what you’ll need:
3 cups all-purpose flour: Provides the structure and heartiness of the bread.
1 teaspoon salt: Enhances the overall flavor and balances the sweetness of the dough.
1 teaspoon instant yeast: Fuels fermentation for a light and airy crumb.
1.5 cups water (warm, about 110°F): Activates the yeast and hydrates the flour for perfect dough consistency.
Step-by-Step Instructions
To get started on your delicious homemade bread, begin by mixing the dry ingredients — this is essential for ensuring even distribution of flavors and yeast activation.
Step 1: In a large mixing bowl, whisk together the 3 cups of all-purpose flour, 1 teaspoon of salt, and 1 teaspoon of instant yeast until well combined. This step is crucial as it helps to evenly distribute the yeast and salt throughout the flour, promoting a uniform rise and flavor in your bread. Make sure there are no clumps remaining, as those can lead to uneven texture in the final loaf.
Step 2: Pour in 1.5 cups of warm water (about 110°F) and stir with a wooden spoon until a shaggy dough forms. The warmth of the water will help activate the yeast more effectively, resulting in a better rise later on. Don’t worry if the dough looks rough; that’s exactly what you want at this stage—just ensure all the flour is incorporated.
Step 3: Cover the bowl with plastic wrap and let it rise at room temperature for 1 hour. This first rise is vital as it allows the dough to ferment and develop flavor while increasing in size. I usually find that keeping it in a warm spot helps speed up this process, so consider placing it near your oven if it’s warm from preheating.
Step 4: About 30 minutes before the dough is ready, preheat your oven to 450°F (232°C) and place a Dutch oven inside to heat up. Preheating the Dutch oven ensures that you create steam when you bake your bread, which contributes to a beautiful crust. It’s important not to skip this step; otherwise, your bread might end up with a denser texture.
Step 5: After the dough has risen, turn it out onto a floured surface and shape it into a ball. Use floured hands to prevent sticking but avoid overworking the dough—this recipe shines because we don’t knead! The shaping should be gentle; you just want to form it into a cohesive ball without deflating it too much.
Step 6: Let the dough rest for another 30 minutes while the oven continues to preheat. This second rise allows for further fermentation and development of flavor. It also gives you time to prepare any toppings or additional ingredients you’d like to add after baking!
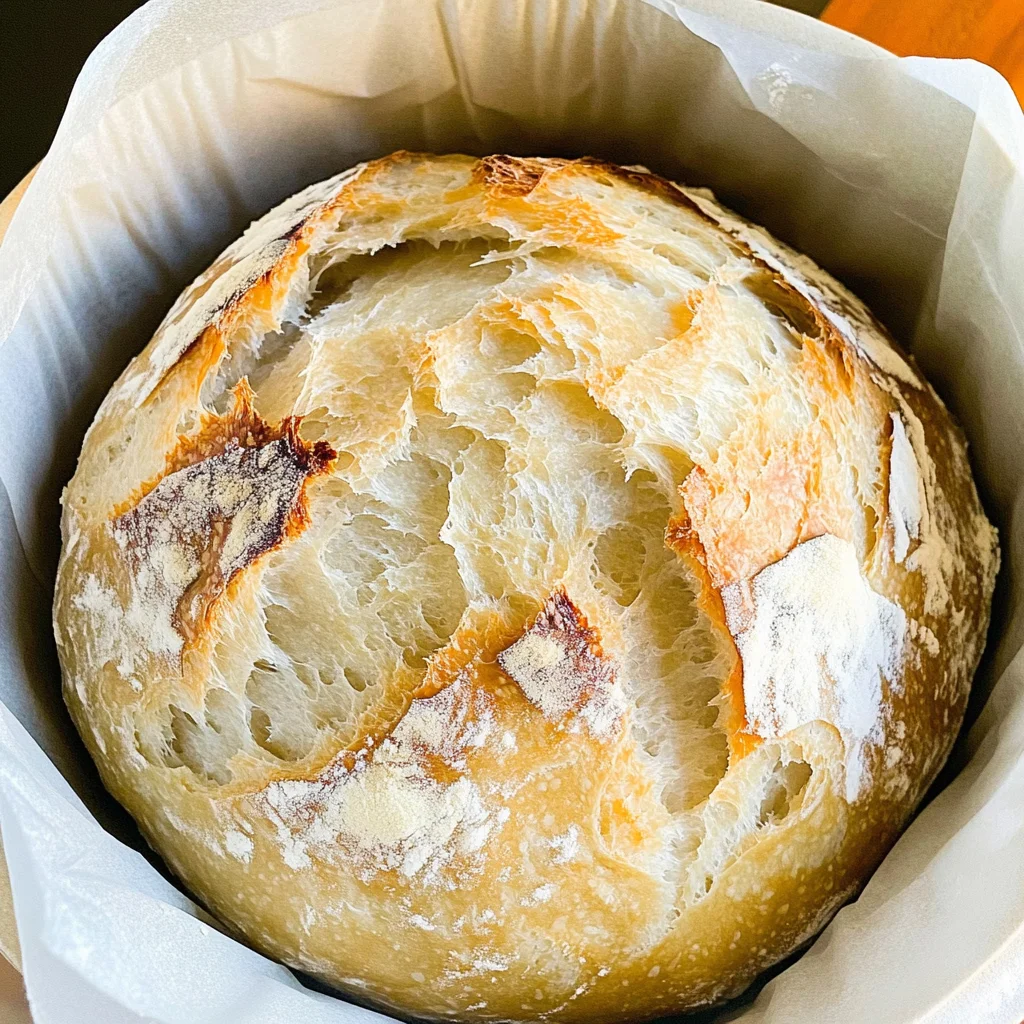
Step 7: Carefully remove the hot Dutch oven, place the dough inside, cover with the lid, and bake for 30 minutes. The extreme heat helps create that perfect crust while keeping the inside soft and chewy—my family loves how airy and light this method makes our bread!
Step 8: Remove the lid after 30 minutes and bake for an additional 15 minutes until the crust is golden brown. This step is essential for achieving that beautiful color and crispy texture on top; you’ll know it’s done when you see a rich golden hue.
Step 9: Remove the bread from the Dutch oven and let it cool on a wire rack before slicing. Cooling properly ensures that moisture escapes from the bread rather than making it soggy when cut. I find that waiting at least 10-15 minutes before slicing enhances both flavor and texture—it’s hard to resist that fresh-baked aroma!
What to Serve with 2 Hour No Knead Bread
This bread is already incredibly filling and balanced, but these sides add extra variety and nutrition to round out your meal perfectly.
Garlic Roasted Broccoli: Tossed in olive oil, minced garlic, and a sprinkle of sea salt, this roasted broccoli becomes caramelized and full of flavor. The slight bitterness of the broccoli balances the rich taste of the bread while adding a vibrant crunch. With about 4 grams of protein per cup and plenty of vitamins C and K, this side is not only nutritious but also a favorite in our household when we’re looking to sneak in some greens.
Classic Tomato Basil Salad: Fresh tomatoes, basil leaves, and a drizzle of balsamic reduction create a light and refreshing salad that complements the warm, crusty bread beautifully. The acidity from the tomatoes enhances the savory notes of the bread, making each bite delightful. This dish is packed with antioxidants and can easily add another 2 grams of protein if you toss in some mozzarella for extra creaminess—a personal family favorite during summer meals.
Creamy Avocado Dip: A simple blend of ripe avocados, lime juice, and a pinch of salt makes for an incredibly smooth dip that pairs perfectly with 2 Hour No Knead Bread. The healthy fats from avocados create a satisfying contrast to the chewy texture of the bread while providing essential nutrients like potassium and fiber. My kids love it as a spread on their bread slices during lunch prep, making it both nutritious and delicious!
Savory Quinoa Pilaf: Cooked quinoa mixed with sautéed onions, bell peppers, and a touch of cumin creates a protein-rich side that adds depth to your meal. The nutty flavor of quinoa echoes the earthy notes in the bread while offering around 8 grams of protein per cup—perfect for those needing an energy boost post-workout. This dish is often made in bulk at our house for meal prep, ensuring we have nutritious options ready throughout the week.
Herbed Olive Oil Dipping Sauce: A mix of high-quality olive oil infused with fresh herbs like rosemary and thyme provides a fragrant dipping sauce that enhances every bite of your homemade bread. This flavorful addition not only echoes the simplicity of the bread but also provides healthy fats that are great for heart health. It’s a staple at our family gatherings; we set it out as an appetizer to get everyone excited about dinner!
Storage & Serving Tips
To store your 2 Hour No Knead Bread, allow it to cool completely before placing it in an airtight container. It can be stored in the fridge for up to 4 days, ensuring that it retains its fresh flavor and texture. For optimal freshness, consider slicing the bread only when you’re ready to eat it. If you plan to keep any toppings or spreads, store them separately in individual containers — butter or spreads can go in small jars, while any fresh toppings like herbs or cheeses should be kept in their own airtight containers.
When reheating, preheat your oven to 350°F and place slices of bread directly on the rack for about 5–7 minutes until warmed through and slightly crispy. Avoid microwaving the bread as it will turn soft and chewy, losing that delightful crust. If you have added any toppings like cheese, these can be reheated in the microwave for about 30 seconds to a minute but be cautious not to overdo it; too much heat can make them rubbery.
Pro tip: To batch cook this recipe for the week, consider doubling the ingredients — using 6 cups of all-purpose flour, 2 teaspoons of salt, and 2 teaspoons of instant yeast along with 3 cups of warm water. Portion out into containers for easy meal prep throughout the week. Family members can self-assemble their bowls by pairing slices of bread with different proteins or toppings each day. For variety, swap out traditional spreads with hummus or avocado for a nutritious twist. To keep your bread at its best during storage, always slice off only what you need and store the rest intact in its container to maintain moisture and texture.
Conclusion
This 2 Hour No Knead Bread has become a staple in my kitchen that I make almost every week because it’s so simple and packed with flavor, delivering just 200 calories per slice. The use of instant yeast is what truly sets this bread apart, allowing for a quick rise and perfectly airy texture without the need for kneading. Give this one a try this week. I promise it’ll become a regular rotation meal in your house too.
2 Hour No Knead Bread
Ingredients
Method
- In a large mixing bowl, whisk together the flour, salt, and instant yeast until well combined.
- Pour in the warm water and stir with a wooden spoon until a shaggy dough forms.
- Cover the bowl with plastic wrap and let it rise at room temperature for 1 hour.
- About 30 minutes before the dough is ready, preheat your oven to 450°F (232°C) and place a Dutch oven inside to heat up.
- After the dough has risen, turn it out onto a floured surface and shape it into a ball.
- Let the dough rest for 30 minutes while the oven continues to preheat.
- Carefully remove the hot Dutch oven, place the dough inside, cover with the lid, and bake for 30 minutes.
- Remove the lid and bake for an additional 15 minutes until the crust is golden brown.
- Remove the bread from the Dutch oven and let it cool on a wire rack before slicing.