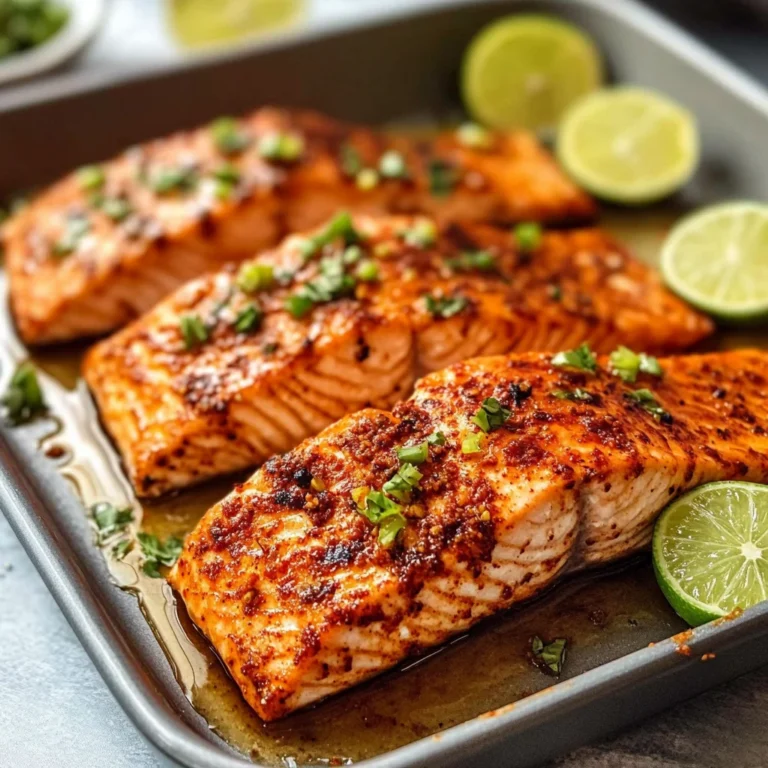
Grilled Chicken Thighs
There’s something truly magical about the aroma of grilled chicken wafting through the air on a warm summer evening. It’s more than just a meal; it’s a celebration of flavors, a gathering of friends and family around the grill, and an experience that wraps you in comfort and joy. When it comes to Grilled Chicken Thighs, this recipe is not only easy to prepare but it embodies the spirit of summer barbecues—a delightful fusion of citrusy brightness, savory depth, and that utterly intoxicating char that can only come from grilling outdoors. Imagine biting into succulent, juicy meat that has been marinated to perfection, each bite bursting with flavor that dances on your palate. Trust me when I say, this dish is destined to become a staple in your cooking repertoire.
What makes these grilled chicken thighs so special is not just the harmonious blend of ingredients but also the way they evoke memories of laughter and camaraderie shared around a backyard fire. The marinade itself is a quick masterpiece—crafted from simple pantry staples yet delivering an explosion of taste that transforms the humble chicken thigh into something extraordinary. You’ll feel like a culinary wizard as you whisk together olive oil, lemon juice, Dijon mustard, and more into what I like to call liquid gold. The bright acidity cuts through the richness of the chicken skin, while honey adds just the right touch of sweetness. I promise you, once you serve up these grilled delights at your next gathering, your friends will be begging for seconds.
Grilled Chicken Thighs: A Summer Staple
Welcome to one of my all-time favorite summer recipes! These Grilled Chicken Thighs are not just food; they’re an event waiting to happen. With a little love and attention to detail—plus just 30 minutes for marinating—you’ll have everyone raving about this dish long after the last bite has been savored. So grab your apron and let’s embark on this culinary adventure together!
Ingredients:
Let’s dive into our ingredients because each one plays a vital role in making these grilled chicken thighs absolutely divine.
- ⅓ cup olive oil. This golden elixir is essential for adding richness and moisture to our marinade. Olive oil also acts as a fantastic carrier for flavors; it helps other ingredients like garlic and lemon juice penetrate the chicken deeply. When choosing olive oil, go for extra virgin if possible—it offers vibrant flavor notes that enhance every bite. If you’re ever in doubt about quality, look for oils labeled as cold-pressed or first-pressed; these methods preserve the oil’s natural taste.
- 3 tablespoons water. While water may seem like a modest addition here, it serves an important purpose by thinning out our marinade slightly without diluting its flavor profile too much. This allows for better coverage over our chicken thighs, ensuring every inch is infused with that citrusy goodness.
- 2 tablespoons lemon juice. Freshly squeezed lemon juice brings a bright acidity that cuts through richness beautifully—a crucial element in balancing flavors in any dish! Plus, citric acid helps tenderize the meat during marination, making our chicken incredibly juicy and flavorful. Always opt for fresh lemons over bottled juice; there’s simply no substitute for that vibrant zing!
- 2 tablespoons Dijon mustard. This ingredient adds both tanginess and depth to our marinade while acting as an emulsifier to keep everything well-blended together. The sharpness of Dijon complements the sweetness of honey perfectly—creating an irresistible balance! Don’t hesitate to experiment with whole grain mustard if you’re looking for texture.
- 1 tablespoon soy sauce. This brings umami richness to our marinade—a non-negotiable if you’re aiming for complex flavors! Soy sauce enhances both color and depth while helping lock in moisture during grilling. If you’re watching sodium levels or prefer gluten-free options, tamari works beautifully as a substitute without compromising flavor.
- 1 tablespoon honey. Sweetness plays an essential role here by caramelizing beautifully on the grill while also balancing out acidity from lemon juice. Honey gives our grilled chicken its lovely golden-brown crust—who doesn’t love that? For anyone looking for alternatives due to dietary preferences, maple syrup can serve as an excellent substitute here.
- 1 tablespoon minced garlic. Now we’re getting into aromatic territory! Garlic not only adds bold flavor but also contributes an enticing aroma while grilling—trust me when I say your neighbors will be wondering what delicious magic you’re crafting! Use fresh garlic cloves whenever possible; their fragrance cannot be matched by pre-minced varieties.
- 1 tablespoon chopped parsley. Fresh herbs brighten up any dish—they’re like confetti for your plate! Parsley enhances visual appeal while providing subtle earthiness alongside vibrant color contrast against our grilled chicken thighs. Feel free to play around with other herbs such as cilantro or basil if those resonate more with you!
- 2 teaspoons kosher salt. Salt is fundamental for enhancing all flavors; it’s often referred to as nature’s flavor amplifier! Kosher salt dissolves easily and evenly distributes throughout your marinade while keeping everything well-seasoned without overwhelming your dish—just enough is key!
- 1 teaspoon lemon zest. Here’s where we really elevate things! Lemon zest contains essential oils that deliver intense citrus fragrance without adding liquid—perfect for enhancing our marinade’s complexity without watering it down.
- ½ teaspoon black pepper. A pinch of freshly cracked black pepper adds warmth and subtle heat to our dish! If you enjoy spice or are feeling adventurous, consider experimenting with different pepper varieties such as smoked paprika or even crushed red pepper flakes!
- ¼ teaspoon paprika (sweet or smoked). This ingredient gives depth of flavor along with stunning color; sweet paprika creates warmth while smoked paprika introduces a wonderful hint of smokiness reminiscent of outdoor grilling—even before you’ve fired up your grill!
- 3 pounds chicken thighs (bone-in, skin-on). Bone-in skin-on thighs are my absolute favorite cut when it comes to grilling! They stay moist during cooking thanks to their fat content while bones contribute additional flavor during grilling—making them perfect candidates for this bright marinade!
Equipment You’ll Need:
Before we get started on preparing these delicious grilled chicken thighs, let’s chat about some essential tools you’ll want by your side in this culinary journey! While they may not be ingredients, having the right equipment makes everything smoother and more enjoyable.
- Medium bowl – Essential for whisking together all those beautiful marinade ingredients until they meld into one cohesive mixture bursting with flavor! A sturdy bowl ensures stability when you’re vigorously mixing away.
- Whisk or fork – The unsung hero behind emulsifying our marinade properly so all elements work harmoniously together instead of separating into layers later on.
- Baking dish or resealable plastic bag – Either option works great here depending on what you have available at home! A baking dish allows easy access during marinating while plastic bags help minimize cleanup (and save fridge space!) since they can take up less room when sealed well with excess air pressed out.
- Grill thermometer – Absolutely paramount if you’re serious about achieving perfectly cooked chicken every time! Knowing precise temperatures allows us confidence in ensuring doneness without guesswork—all about hitting those magic numbers!
Now that we’re all set up with ingredients and equipment let’s jump right into preparing those stunning grilled chicken thighs!
Step 1: Prepare Your Marinade Like a Pro
To kick things off beautifully, grab your medium bowl and whisk together all those amazing ingredients: olive oil, water, lemon juice, Dijon mustard—you name it! As you mix them together vigorously (this part really gets me excited!), watch how they transform into a silky smooth blend packed full of flavors waiting to embrace our chicken thighs lovingly later on! Remember—the process matters just as much as what goes in there; letting them emulsify ensures everything coats evenly once applied directly onto the meat itself later down line—and trust me—it’s crucial if we want maximum impact from each bite!
Step 2: Marinate Those Thighs!
Now comes perhaps my favorite part—the marination process itself! Place those glorious bone-in skin-on chicken thighs into either your baking dish or resealable plastic bag before pouring over every last drop of that luscious marinade we prepared earlier (no skimping allowed!). Take care to turn each piece gently until thoroughly coated—that’s where all magic happens! Once done covering them generously with goodness (don’t forget: press out any excess air if using bags), cover tightly before transferring them straight into refrigerator space reserved specially just for chilling out—for at least 30 minutes but ideally up 60 minutes if time allows—I promise it’ll pay off dividends in tenderness later down line!
Step 3: Preheat Your Grill
While those beauties bask in their citrusy embrace within fridge confines—we can prepare ourselves mentally AND physically by preheating grill outside where all action awaits us next! Aim towards medium-high heat setting between 375°F (191°C) – 400°F (204°C). Be sure not skip cleaning grates thoroughly beforehand though—the last thing we want is anything sticking unexpectedly when it comes time flip ’em over mid-cook session later on! A little grease goes long way here too—as you brush lightly across surface area beforehand—it prevents sticking entirely allowing seamless movement once placed down onto hot grates directly after flipping soon thereafter too!
Step 4: Grill Those Chicken Thighs!
When grill reaches desired temperature range—we’re ready unleash ultimate goodness upon unsuspecting hot grates awaiting transformation ahead now—but first things first: shake off any excess marinade lingering atop surface area then gently pat dry using paper towels before placing skin-side down onto grill directly without hesitation whatsoever because timing matters greatly right now folks—it’s crucial achieve perfect charred crust everyone desires upon completion here soon thereafter too amidst sizzling symphony surrounding us all momentarily thereafter (oh yes!). Close lid immediately following placement allowing cook uninterrupted uninterrupted circa five minutes total per side initially before flipping carefully taking care basting simultaneously using reserved leftover marinade from earlier prep stage after initial turn around point reached shortly thereafter continuing repeat pattern literally every two-three minutes thereafter until internal temperature reaches ultimate target range anywhere between165°F(74°C)-170°F(77°C) approx twenty-five thirty minutes tops depending size thickness characteristics individual pieces being cooked at specific times present therein respectively so keep close eye throughout entire process monitoring closely ensuring nothing burns unnecessarily along path taken overall success achieved final product presented proudly table afterwards ultimately reflecting hard work effort put forth today alone wouldn’t ya agree?
In no time at all we’ll have succulent perfectly grilled flavorful delights awaiting eager taste buds ready devour whole-heartedly once resting period finally complete prior serving moments approaching quickly ahead now excitement building daydreaming already!!
Step 5: The Grilling Dance Begins
Now that you’ve prepped your chicken and are ready to grill, it’s time to make that magic happen! Start by shaking off any excess marinade from your chicken thighs. This is crucial because too much marinade can lead to flare-ups on the grill, which we want to avoid for even cooking. After shaking, take a paper towel and gently pat the surface of the chicken dry. Don’t skip this step; it helps achieve that beautiful golden-brown crust that everyone loves, and trust me, the texture will be utterly intoxicating!
Once your grill is preheated to a medium-high heat—aiming for that sweet spot between 375 to 400ºF (191 to 204ºC)—it’s time to place your chicken on the grates, skin-side down. The sizzling sound you hear as the chicken meets the grill is music to my ears; it’s like an invitation for flavor development! Close the lid and let those thighs cook undisturbed for about 5 minutes. This initial sear not only locks in moisture but also creates those gorgeous grill marks that are so visually appealing. When you flip them over, they should release easily from the grill without sticking; if they cling a bit, give them another minute or two.
Step 6: The Art of Basting
After those first five minutes have passed, it’s time for a little culinary TLC—flip your chicken thighs over and baste them generously with that reserved marinade. I always say that basting is like giving your meat a warm embrace; it adds layers of flavor and keeps everything juicy! Use a brush or spoon to coat each piece thoroughly; this step is non-negotiable because it enriches the flavor profile while helping create a beautiful glaze as they continue grilling.
Now comes another important part: close the lid again and let those thighs bask in their own deliciousness for about 5 minutes. During this time, you’ll want to keep an eye on them; check for any signs of excessive charring or flames licking up too high. If you notice one side browning faster than the other, don’t panic—just move those pieces away from direct heat to finish cooking through on the indirect side of the grill. This method ensures they’ll cook evenly without burning while still maintaining that succulent texture we all crave.
Step 7: The Flip-Flop Technique
What makes grilled chicken thighs truly special is how they can develop a crust while remaining juicy inside, and this requires some gentle flipping and basting! Every 2-3 minutes after your first flip, take a moment to turn them back over and baste once more with that heavenly marinade. It’s like unlocking layers of flavor with every flip; don’t rush this step! Each basting session allows those flavors to seep deeper into the meat while keeping everything moist.
Keep monitoring their progress until they reach an internal temperature of about 165 to 170ºF (74 to 77ºC). A good meat thermometer is invaluable here—it will provide peace of mind and ensure you’re serving perfectly cooked chicken every single time. As you near that target temperature, you may notice some delightful caramelization happening on the skin; this golden crispiness is what dreams are made of! Remember, if things seem to be browning too quickly, shifting them over to indirect heat allows for gentle cooking without compromising quality.
Step 8: Resting – The Transformative Moment
When your grilled chicken thighs reach that perfect internal temperature, it’s tempting to dive right in—that juicy goodness just calls out for attention! But wait—this next step is absolutely paramount: resting. Cover those glorious pieces with foil and let them rest for about 5 minutes before serving. Why rest? Well, think of it as letting all those juices redistribute throughout the meat instead of spilling out when cut into immediately. This patience rewards you with moist, tender bites in every morsel!
During this resting phase, take a moment yourself—perhaps whip up a quick side salad or set out some lovely dipping sauces. This waiting period not only enhances texture but also gives flavors time to marry together beautifully. When you’re finally ready to slice into these beauties, you’ll be rewarded with succulent pieces bursting with flavor and perfect juiciness—a truly extraordinary dining experience awaits!
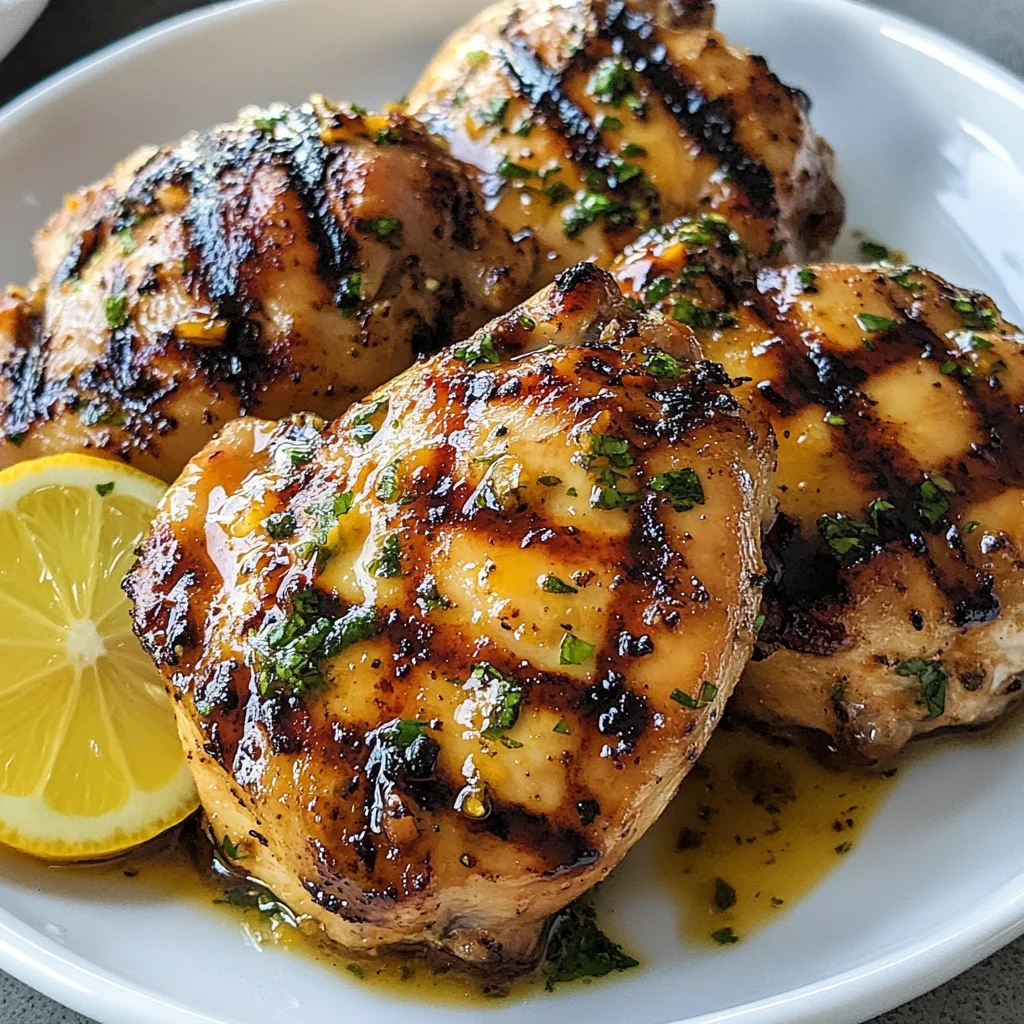
Final Touches
As we approach the grand finale of our grilling adventure with these Grilled Chicken Thighs, let’s talk presentation! Once rested and ready to serve, consider garnishing each thigh with freshly chopped parsley or even thin slices of lemon for an extra pop of color and brightness. Not only does this make your dish Instagram-worthy (because who doesn’t love sharing their culinary creations?), but it also adds another layer of freshness that complements the citrus undertones beautifully.
Your guests—and let’s be real here, maybe just yourself too—are going to revel in every bite of these flavorful grilled thighs! Serve them alongside some seasonal veggies or fluffy rice pilaf for a complete meal that’s both satisfying and delightful during those warm summer evenings spent outdoors. Trust me when I say there will be no leftovers when you share these at your next gathering; everyone will want seconds! Enjoy every moment and savor this journey through flavors—you deserve nothing less than extraordinary!
Storage and Enjoyment Tips for Your Grilled Chicken Thighs
Now that your grilled chicken thighs are sizzling with flavor and ready to grace your table, let’s talk about how to savor every last bite! Whether you’re hosting a summer barbecue or planning a cozy weeknight dinner, these juicy thighs are more than just a meal; they’re an experience. And trust me; the magic doesn’t have to end when the last piece is consumed. With a few simple storage tips, you can keep that delightful taste alive for those future cravings.
Storing Leftover Grilled Chicken Thighs
To ensure that your leftover grilled chicken thighs remain as delectable as the first bite, it’s essential to store them properly. I recommend placing them in an airtight container—glass or BPA-free plastic works beautifully—before tucking them away in the refrigerator. This method will keep them fresh for about 3 to 4 days. If you want to maintain their mouthwatering quality, try adding a slice of bread into the container; this little trick absorbs excess moisture and helps prevent that dreaded dryness. When you’re ready to enjoy your leftovers, simply warm them up in the oven at 350°F (175°C) for about 15-20 minutes, or until they’re heated through. I promise you’ll be amazed at how close they taste to fresh off the grill, retaining their juicy goodness!
Freezing Grilled Chicken Thighs for Later
If you find yourself with more chicken than you can eat right away (which is often the case when grilling), don’t fret! You can easily freeze those succulent thighs for later enjoyment. Just let them cool completely before wrapping each piece tightly in foil or placing them in freezer-safe bags, squeezing out as much air as possible before sealing. They can be stored this way for up to 3 months without losing their incredible flavor and texture. When you’re ready to indulge again, simply transfer them from the freezer to the refrigerator overnight to thaw, then reheat using your favorite method. The convenience of having these flavorful grilled chicken thighs on hand makes busy weeknights so much easier while still delivering that homemade taste we all crave!
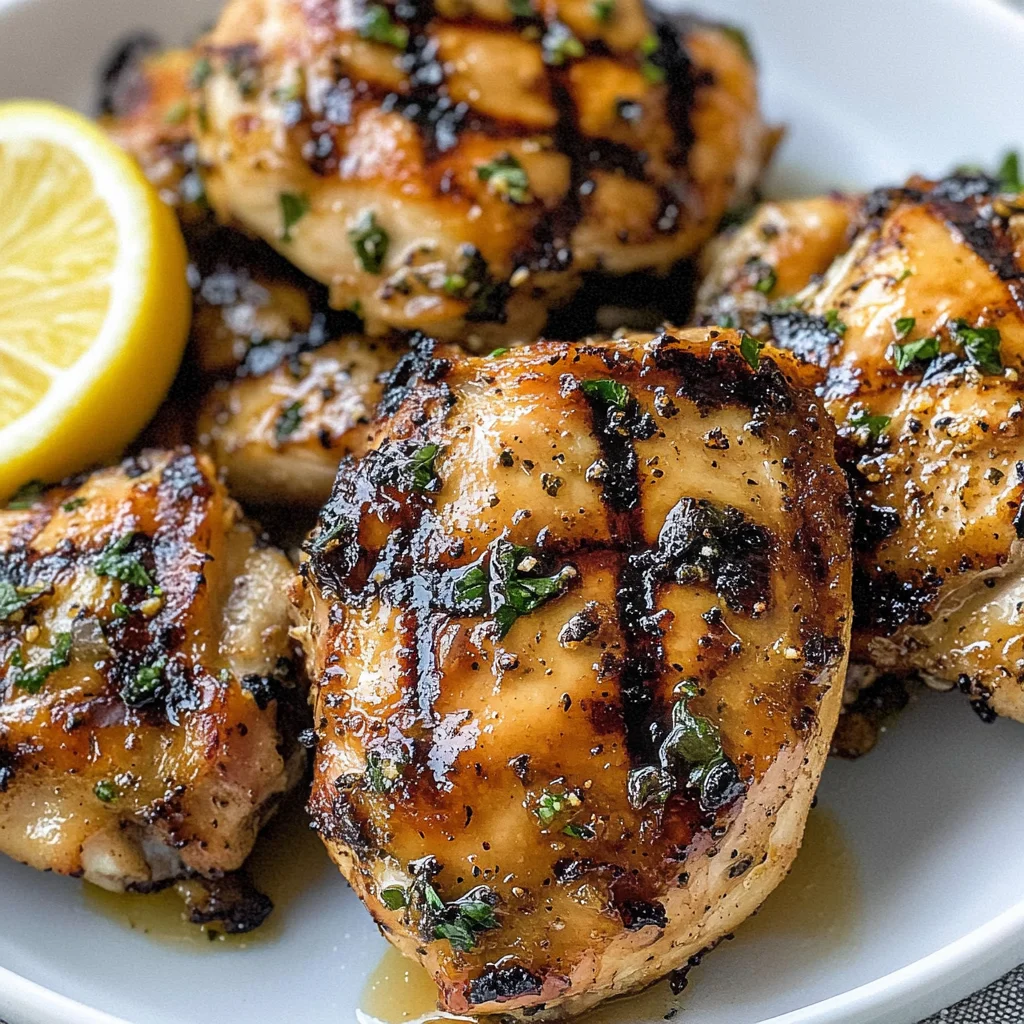
Grilled Chicken Thighs

Grilled Chicken Thighs are your ultimate summer companion—juicy, flavorful, and easy to prepare. This dish embodies everything we love about outdoor cooking: the bright, zesty marinade enhances the natural richness of chicken thighs, while the grilling process creates a tantalizing char.
- Prep Time: 30 minutes
- Cook Time: 25 minutes
- Total Time: 55 minutes
- Yield: Serves approximately 6 people 1x
- Category: Main
- Method: Grilling
- Cuisine: American
Ingredients
- ⅓ cup olive oil
- 3 tablespoons water
- 2 tablespoons lemon juice
- 2 tablespoons Dijon mustard
- 1 tablespoon soy sauce
- 1 tablespoon honey
- 1 tablespoon minced garlic
- 1 tablespoon chopped parsley
- 2 teaspoons kosher salt
- 1 teaspoon lemon zest
- ½ teaspoon black pepper
- ¼ teaspoon paprika (sweet or smoked)
- 3 pounds chicken thighs (bone-in, skin-on)
Instructions
- In a medium bowl, whisk together olive oil, water, lemon juice, Dijon mustard, soy sauce, honey, minced garlic, chopped parsley, salt, black pepper, lemon zest, and paprika until well combined.
- Place chicken thighs in a resealable bag or baking dish and pour marinade over them. Seal or cover tightly and refrigerate for at least 30 minutes (up to 60 minutes for maximum flavor).
- Preheat grill to medium-high heat (375°F – 400°F). Remove chicken from marinade and pat dry.
- Grill chicken thighs skin-side down for about 5 minutes until they develop grill marks. Flip and baste with reserved marinade; cook for another 20-25 minutes until internal temperature reaches 165°F.
- Remove from the grill and let rest for 5 minutes before serving.
Nutrition
- Serving Size: 1 serving
- Calories: 335
- Sugar: 3g
- Sodium: 580mg
- Fat: 24g
- Saturated Fat: 4g
- Unsaturated Fat: 18g
- Trans Fat: 0g
- Carbohydrates: 9g
- Fiber: 0g
- Protein: 28g
- Cholesterol: 120mg