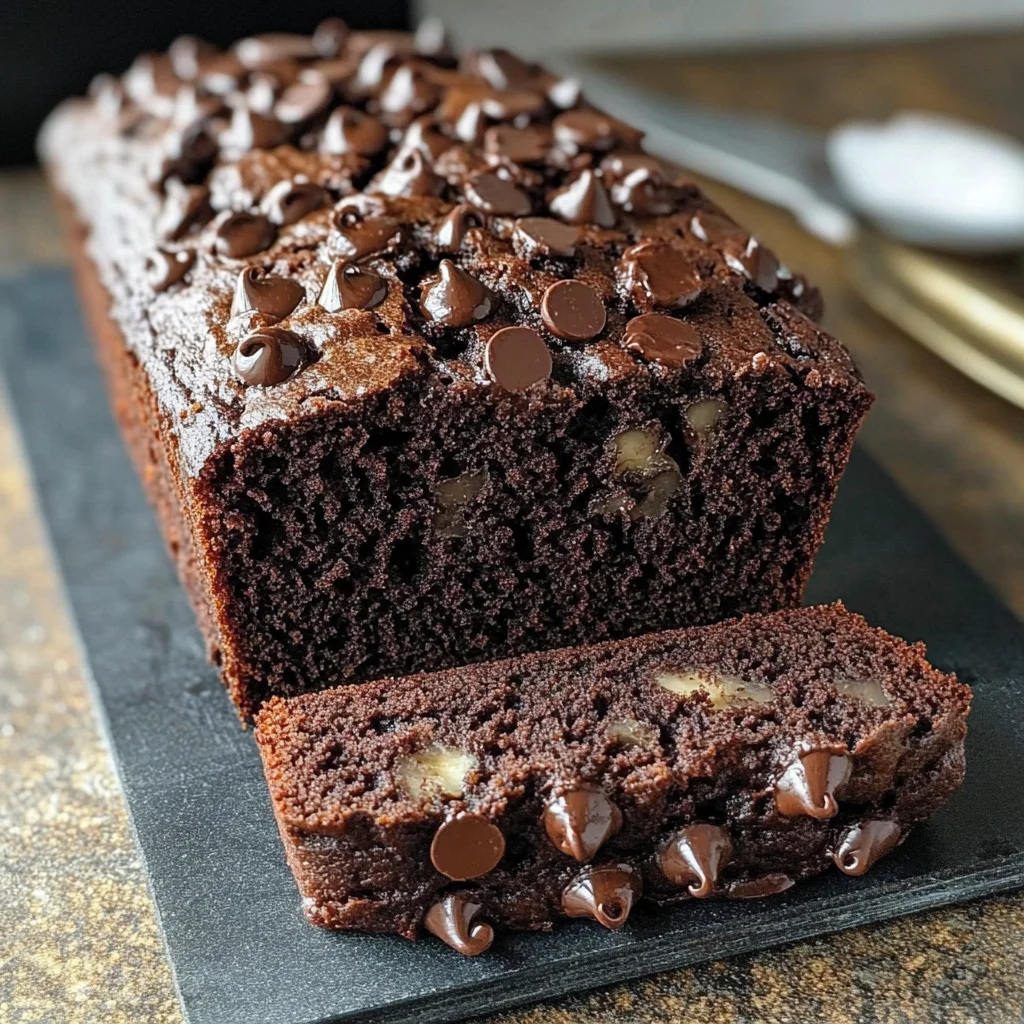
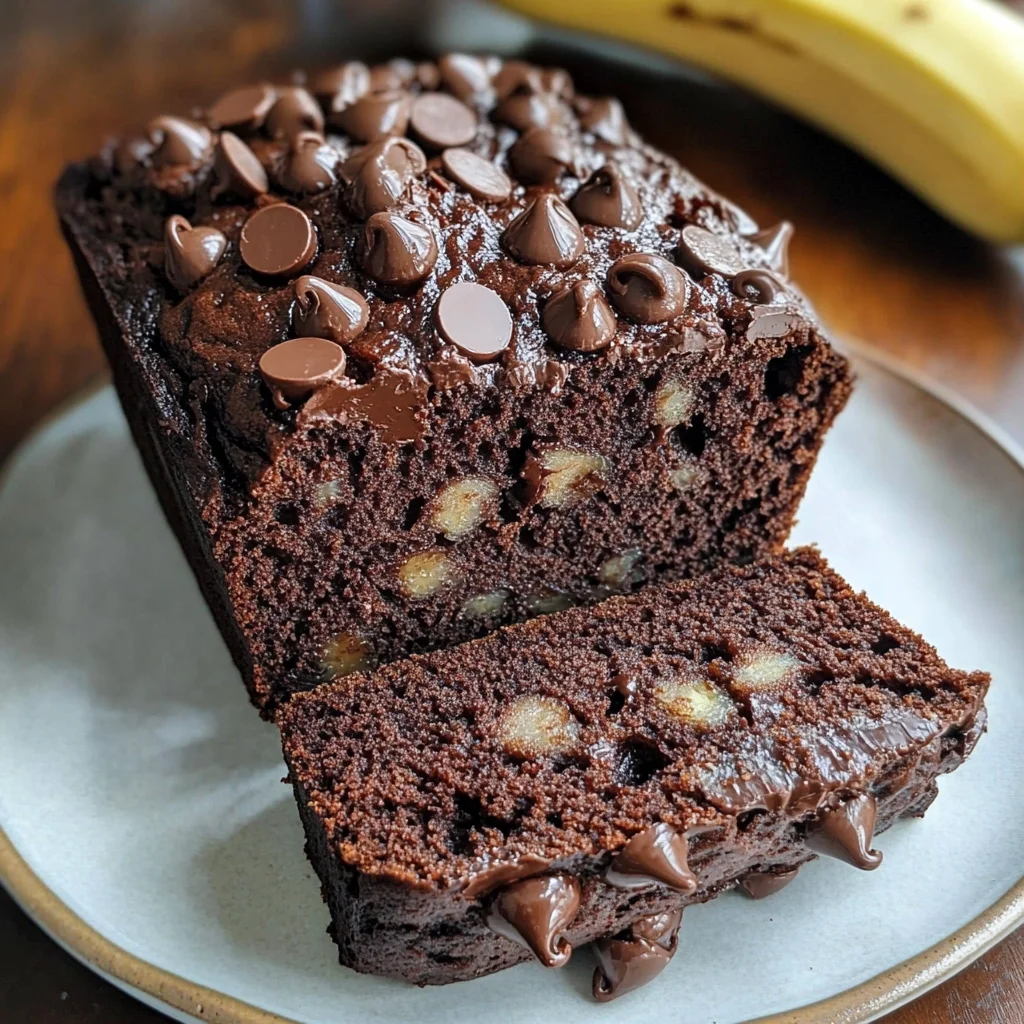
Chocolate Banana Bread
There’s something truly magical about the comforting aroma of freshly baked goods wafting through the kitchen—a scent that invites warmth, memories, and a sense of belonging. When I think of the ultimate comfort food, my mind instantly drifts to Chocolate Banana Bread. This isn’t just any banana bread; it’s a heartfelt creation that marries the rich, decadent flavor of chocolate with the natural sweetness of ripe bananas. It speaks to my soul in a way that few things do—a delightful reminder that life is meant to be savored, one slice at a time. As you take your first bite, you’ll be enveloped in a symphony of flavors and textures—each mouthful offering an experience that feels both indulgent and nurturing. Trust me when I say, this Chocolate Banana Bread is not just food; it’s a revelation.
This recipe is so much more than a simple dessert or snack—it embodies the joy of using up those overripe bananas sitting on your counter and transforming them into something utterly intoxicating. There’s an almost poetic significance in how we can take what might go to waste and create something deliciously extraordinary. The combination of chocolate and banana has become beloved across households, often bringing families together for cozy moments over coffee or tea. Whether you’re baking for a special occasion or simply indulging in a self-care moment, this Chocolate Banana Bread becomes the heartwarming centerpiece of your table.
Chocolate Banana Bread: A Decadent Delight for Every Occasion
Ah, my dear friend, let’s embark on this delightful culinary journey together! This Chocolate Banana Bread is incredibly easy to whip up and will leave you with an irresistible treat that even non-bakers can master. You don’t need to be a professional chef; all you need is a bit of love, some ripe bananas, and a passion for chocolate! So grab your apron and let’s get started.
Ingredients:
Before we dive into creating this delicious bread, let’s gather our ingredients. Each element plays an essential role in crafting this moist and flavorful treat.
- 1 cup all-purpose flour: This humble ingredient serves as the backbone of our bread. The all-purpose flour provides structure while allowing other flavors to shine through. When selecting flour, I recommend looking for a high-quality brand—this makes a difference in texture and taste. Remember not to pack it too tightly into your measuring cup; spoon it in gently for the best results!
- 1/2 cup Dutch process cocoa: Here’s where we start to bring in that rich, chocolatey flavor that will have everyone swooning! Dutch process cocoa has been treated with an alkalizing agent to neutralize its acidity, resulting in a smoother taste compared to natural cocoa powder. It contributes not only color but also depth to our bread’s flavor profile—essential for any true chocolate lover!
- 1 teaspoon baking soda: Baking soda acts as our leavening agent here, helping our bread rise beautifully while also providing tenderness. It works by reacting with acidic ingredients (like our ripe bananas) to produce carbon dioxide bubbles that create lift during baking. This is crucial for achieving that perfect texture!
- 1/2 teaspoon sea salt: Don’t underestimate the power of salt! It enhances flavors and balances sweetness in baked goods. Using sea salt rather than table salt gives us little bursts of flavor that elevate each bite; it’s absolutely paramount for creating depth.
- 3 large brown bananas (about 1 1/2 cups mashed): Ripe bananas are the star of this show! Their natural sugars provide sweetness while keeping our bread wonderfully moist. Look for bananas with plenty of brown spots—this means they’re perfectly ripe and ready for mashing. Your kitchen will thank you for not wasting these beauties!
- 1/4 cup unsalted butter (melted and slightly cooled): Butter adds richness and helps create that melt-in-your-mouth texture we crave in banana bread. Make sure you allow it to cool slightly after melting; if it’s too hot when mixed with eggs or other ingredients, it can lead to undesirable results like scrambling your egg.
- 1/4 cup canola oil (or melted coconut oil): Adding oil contributes moisture without weighing down the batter like butter can sometimes do alone. Canola oil has a neutral flavor profile which lets our chocolate shine through beautifully; however, feel free to substitute with melted coconut oil if you desire a hint of tropical flair!
- 3/4 cup packed light brown sugar: Brown sugar brings not only sweetness but also moisture due to its molasses content—leading us toward that tender crumb we seek! Be sure to pack it tightly into your measuring cup; otherwise, you might end up with less sweetness than intended.
- 1 large egg (at room temperature): Eggs bring structure and stability while also adding richness. Room temperature eggs blend more easily into batters than cold ones straight from the fridge—this step helps ensure better incorporation throughout your mixture.
- 1 teaspoon pure vanilla extract: Vanilla extract adds warmth and complexity—not just sweetness—to our bread. Always opt for pure vanilla extract instead of imitation when possible; it’s worth every penny for its intense flavor!
- 1 cup semisweet chocolate chips (divided): Lastly, we have those heavenly chocolate chips! These little morsels melt into gooey pockets throughout the bread as it bakes—you simply cannot have too much chocolate! Dividing them allows us both an infusion throughout the batter as well as another sprinkle on top for added visual appeal.
Equipment You’ll Need:
Having the right tools makes all the difference when you’re baking—that’s why I want you fully equipped before we dive into mixing! While these aren’t technically ingredients, they are essential partners in creating something wonderful together.
- 9-by-5-inch loaf pan: This size is ideal for achieving that classic loaf shape we’re aiming for here; anything smaller may lead to overflow while baking! If you don’t have one handy, feel free to use an 8-by-4-inch pan—but keep an eye on baking times since it’ll cook differently.
- Mixing bowls: A good set of mixing bowls is crucial—one large bowl will hold our wet ingredients beautifully while another medium-sized bowl will accommodate our dry mix without any fuss.
- Whisk: A sturdy whisk will help combine our dry ingredients seamlessly before incorporating them into wet ingredients—trust me on this one; it’s absolutely non-negotiable if you want clump-free batter!
- Fork or potato masher: You’ll need either tool handy for mashing those ripe bananas into submission! The goal here is smoothness without leaving behind any chunky bits—we want every bite infused with banana goodness.
Now that we’ve gathered everything we need—and I promise it’s going to be worth every moment spent together—let’s dive right into preparing this incredible Chocolate Banana Bread!
Step 1: Preheat Your Oven and Prepare Your Pan
First things first—let’s set ourselves up for success by preheating our oven to 350°F (175°C). This temperature ensures even baking throughout—the last thing we want is unevenly cooked bread! As that’s warming up nicely, grab your loaf pan (your trusty companion) and grease it generously with nonstick cooking spray or butter—it’s crucial so nothing sticks during our grand reveal later!
Step 2: Whisk Together Dry Ingredients
In one medium-sized bowl, whisk together your all-purpose flour, Dutch process cocoa powder, baking soda, and sea salt until well combined. This process ensures even distribution of all those essential dry elements—we don’t want pockets of baking soda hiding out anywhere! Take your time here because proper mixing influences how well everything rises later on during baking.
Step 3: Mash Those Bananas
Now comes my favorite part—mashing those ripe bananas until they resemble silky-smooth liquid gold! Grab your fork (or potato masher) and get ready to channel some energy into those overripe beauties until they’re completely smooth but don’t stress about making them perfect—you’re going for roughly mashed here since some chunks add delightful texture post-baking too!
Step 4: Combine Wet Ingredients
In another large bowl, combine your mashed bananas along with melted butter (slightly cooled), oil (your choice!), light brown sugar, egg at room temperature—and don’t forget that luscious vanilla extract! Stir these all together lovingly until smooth—it should feel like magic as their flavors blend harmoniously together before introducing them back into their dry counterparts shortly after!
As we venture deeper into making this Chocolate Banana Bread masterpiece together next time—I promise you’ll be amazed at how effortlessly everything comes together once again! Keep those senses alive because soon enough we’ll experience all sorts of delightful aromas wafting through—even bringing joy beyond just taste itself…
Step 5: Pouring and Topping with Chocolate Goodness
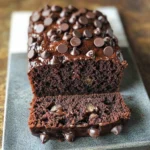
Now that your batter is beautifully combined, it’s time to pour it into the prepared loaf pan. This part is like a big hug for your mixture; you’re giving it a cozy home where all those flavors can meld together in the oven. Gently pour the rich, dark batter into the greased pan, using a spatula to scrape every last bit from the bowl because, trust me, you don’t want to miss even a spoonful of this luscious chocolate banana bread batter! Once your pan is filled, sprinkle the remaining 1/4 cup of chocolate chips evenly across the top. This step serves two purposes: first, it adds an extra layer of decadence that will melt and create little puddles of chocolate joy on top of your bread; second, it gives your finished product that picture-perfect look, as if it just jumped out of a baking magazine.
As you prepare to bake, take a moment to appreciate the transformation this batter has undergone. From simple ingredients like bananas and flour to a thick blend of chocolatey goodness, this step embodies the essence of what makes baking so magical. Now slide that loaf pan into your preheated oven—set at 350°F—where heat will work its magic over the next 50-65 minutes. But don’t just walk away! Baking is an interactive process; you’ll want to keep an eye (and nose) on it as it transforms. The aroma will start wafting through your kitchen—an intoxicating blend of chocolate and ripe bananas that’s simply irresistible.
Step 6: The Waiting Game – Baking Perfection
While you wait for your Chocolate Banana Bread to bake, I encourage you to embrace the anticipation. This is not just about killing time; it’s a crucial part of developing flavor and texture. The baking soda reacts with the other ingredients during this time, creating those lovely air pockets that make your bread light and fluffy. If you peek inside too early or open the door too often, you risk collapsing those delicate structures—and we wouldn’t want that! So be patient and let it do its thing.
Around the 50-minute mark, it’s time for a friendly check-in on your masterpiece. Gently open the oven door (try not to jostle it too much) and insert a toothpick into the center of the loaf. What are you looking for? Ideally, when you pull it out, there should be just a few crumbs clinging to it but not gooey batter—that gooeyness means more baking is necessary. If you see melted chocolate chips on there instead, don’t panic; that’s perfectly normal! Your bread should have risen beautifully during baking and developed a slight crust on top—this is where all that amazing flavor concentrates.
Step 7: Cooling Down – A Crucial Resting Phase
Once your timer goes off and your kitchen smells like pure bliss, carefully remove the loaf pan from the oven using oven mitts (safety first!). Set it on a wire cooling rack—this is essential because allowing airflow around your bread helps prevent sogginess at the bottom. Letting your Chocolate Banana Bread cool in the pan for about 15 minutes may feel like an eternity; I promise it’s worth every second! This cooling period allows everything inside to set properly while also making it easier to remove without crumbling apart.
After those precious minutes have passed, grab a butter knife and gently run it around the edges to loosen any parts that might stick. This little action can save you from losing some beautiful crust when you flip it out later! Carefully invert the pan over your cooling rack and give it a gentle tap—a little shake if necessary—to nudge that warm loaf out into freedom. Now let it cool completely before slicing any pieces off—and here’s why: cutting into hot bread can lead to gummy slices instead of perfect servings. We’re aiming for elegance here!
Step 8: Slicing Into Bliss – The Grand Finale
Finally—the moment we’ve all been waiting for! Once cooled slightly but still warmly inviting—with steam wafting up like an aromatic hug—it’s now ready for slicing. Use a serrated knife for clean cuts; trust me when I say this is non-negotiable if you want those gorgeous slices without squishing all that soft interior goodness! As you cut through each piece, notice how effortlessly the blade glides through—thanks to all those wonderful ingredients mingling perfectly together.
When you’re done slicing, take in that delightful aroma one last time before serving; I promise it’s truly extraordinary! Whether enjoyed warm or at room temperature, each bite will provide sheer comfort wrapped in layers of flavor—a sweet harmony between chocolate and banana that’s simply irresistible. You can serve them as they are or add toppings like nut butter or even whipped coconut cream for an elevated experience.
Final Touches – Storing and Enjoying Your Creation
Now that you’ve created this delectable Chocolate Banana Bread masterpiece, let’s talk about storage because I wouldn’t want anything to go to waste! Wrapped tightly in plastic wrap and then aluminum foil, this beautiful loaf can stay fresh on your countertop for up to four days—though I doubt it’ll last that long with all its deliciousness calling out for attention! And if by some miracle there are leftovers after those days? You can freeze individual slices wrapped securely for up to one month—just remember to defrost them before indulging again.
This recipe isn’t just about satisfying cravings; it’s about love—the love poured into each step reflects back onto those who share in its joy. Bake with passion and share generously because there’s nothing quite like gathering friends or family around while they savor each bite together. So grab those ripe bananas off your counter again soon—you’ll want another round of this Chocolate Banana Bread sooner rather than later! Happy baking!
Storage and Enjoyment Tips for Your Chocolate Banana Bread
Now that you’ve taken the time to create this delightful Chocolate Banana Bread, it’s time to talk about how to savor every last crumb! There’s something incredibly satisfying about slicing into a freshly baked loaf, but let’s be real; sometimes, life gets busy. So, whether you plan to devour the entire loaf in one sitting or want to enjoy it over the next few days, knowing how to store it properly is essential. Let’s make sure your creation remains as moist and flavorful as the moment it came out of the oven!
Storing Leftover Chocolate Banana Bread
To keep your Chocolate Banana Bread at its absolute best, I recommend storing it in an airtight container at room temperature. This is crucial because moisture can quickly lead to stale bread if left exposed to air. If you don’t have a fancy container on hand, simply wrap the loaf tightly in plastic wrap or aluminum foil; either method will do just fine! Under these conditions, your scrumptious bread will stay fresh for up to four days—if it lasts that long! Trust me when I say that every day brings a slightly different flavor experience; those chocolate chips continue to add their lusciousness while the bananas deepen in sweetness. When you’re ready to indulge again, consider lightly warming a slice in the microwave for about 10-15 seconds; this little trick transforms each bite into a warm hug of nostalgia and comfort!
Freezing Chocolate Banana Bread for Later
If you find yourself with more than you can handle (or if you’re simply being smart by preparing ahead), freezing your Chocolate Banana Bread is an excellent option! To do this properly, wait until the bread has completely cooled, then wrap it tightly in plastic wrap followed by a layer of aluminum foil. This double-wrapping protects against freezer burn and keeps all that delectable moisture locked inside. You can freeze it for up to one month without sacrificing quality! When you’re ready for a slice of happiness, simply thaw it overnight in the refrigerator or leave it on your counter until soft. The convenience of having a homemade treat ready at your fingertips makes this step utterly worthwhile—imagine pulling out a loaf on a chilly evening and treating yourself to a slice of bliss!
Chocolate Banana Bread
Indulge in the rich, decadent flavors of Chocolate Banana Bread, a delightful treat that effortlessly combines ripe bananas with luscious chocolate. This easy-to-make recipe transforms your overripe bananas into a moist and flavorful loaf that’s perfect for breakfast, dessert, or a cozy afternoon snack. Each slice offers a wonderful balance of sweetness and chocolatey goodness, making it a beloved favorite among all who try it. Whether you enjoy it fresh from the oven or slightly warmed later, this bread is sure to evoke warm memories and bring joy to your table.
- Prep Time: 15 minutes
- Cook Time: 60 minutes
- Total Time: 1 hour 15 minutes
- Yield: Approximately 10 servings 1x
- Category: Dessert
- Method: Baking
- Cuisine: American
Ingredients
- 1 cup all-purpose flour
- 1/2 cup Dutch process cocoa powder
- 1 teaspoon baking soda
- 1/2 teaspoon sea salt
- 3 large ripe bananas (about 1 1/2 cups mashed)
- 1/4 cup unsalted butter (melted)
- 1/4 cup canola oil (or melted coconut oil)
- 3/4 cup packed light brown sugar
- 1 large egg (room temperature)
- 1 teaspoon pure vanilla extract
- 1 cup semisweet chocolate chips (divided)
Instructions
- Preheat your oven to 350°F (175°C) and prepare a 9-by-5-inch loaf pan by greasing it with nonstick spray or butter.
- In a medium bowl, whisk together flour, cocoa powder, baking soda, and sea salt until well combined.
- In another large bowl, mash the ripe bananas until smooth. Mix in melted butter, oil, brown sugar, egg, and vanilla extract until smooth.
- Gradually combine the dry ingredients with the wet mixture until just blended. Fold in 3/4 cup of chocolate chips.
- Pour the batter into the prepared loaf pan and sprinkle remaining chocolate chips on top.
- Bake for 50-65 minutes or until a toothpick inserted comes out clean with a few crumbs attached.
- Allow to cool in the pan for about 15 minutes before transferring to a wire rack to cool completely.
Nutrition
- Serving Size: 1 slice (80g)
- Calories: 244
- Sugar: 18g
- Sodium: 121mg
- Fat: 11g
- Saturated Fat: 5g
- Unsaturated Fat: 6g
- Trans Fat: 0g
- Carbohydrates: 34g
- Fiber: 2g
- Protein: 3g
- Cholesterol: 23mg