Homemade Lemonade Recipe
There’s something profoundly satisfying about crafting your own lemonade. It’s not merely about mixing sugar, water, and lemons—this homemade lemonade recipe is an experience, a refreshing escape that evokes sun-soaked afternoons and laughter-filled gatherings. When you take that first sip, the bright acidity of fresh lemon juice dances across your palate, perfectly balanced by the sweetness of simple syrup. This isn’t just a drink; it’s a reminder of childhood days at the park, the warmth of summer breezes, and the joy of sharing something wonderful with loved ones. I promise you, when you make this homemade lemonade from scratch, you’re not just quenching your thirst—you’re creating joyful memories.
As I stand in my kitchen squeezing those golden lemons, I feel a connection to generations before me who have also crafted this liquid gold. It’s a simple yet extraordinary recipe passed down through families, each with its unique twist—some adding mint for freshness or berries for a splash of color. The beauty lies in its versatility; while this homemade lemonade recipe captures the classic essence, it invites you to experiment and innovate. Whether it’s a picnic in the park or a backyard barbecue with friends, this refreshing beverage brings people together in moments that matter.
Homemade Lemonade Recipe: A Refreshing Classic
I can’t wait to share this delightful homemade lemonade recipe with you! With just three basic ingredients—sugar, water, and fresh lemons—you’ll have a half-gallon of pure refreshment ready to enjoy. Don’t rush through the process; savor each step as you create something truly special. Remember to check out the step-by-step video just below for visual guidance!

Ingredients:
Embarking on this culinary journey requires only a few key ingredients that work together in perfect harmony to create that quintessential lemonade experience. Let’s dive into what makes each ingredient crucial.
- 6 cups water (divided): Water is often overlooked but is absolutely paramount in this recipe. It’s the canvas on which the flavors are painted! For our lemonade, we’ll divide it into two portions: one cup will be used to create our simple syrup with sugar—a sweet base that dissolves beautifully—and the remaining five cups will dilute our concentrated lemon juice perfectly. Using filtered or spring water will enhance the overall flavor profile since tap water can sometimes carry unwanted tastes or odors. Trust me on this; starting with quality water sets a solid foundation for your drink.
- 1 cup granulated sugar: Ahh, sugar—the sweet elixir that binds everything together! Granulated sugar is essential here because it dissolves easily when heated with water to create our simple syrup. This process ensures that every sip of our homemade lemonade is consistently sweet without any gritty texture left behind. If you’re looking for alternatives due to dietary preferences or health reasons, feel free to substitute with agave nectar or stevia; however, these may alter the final taste slightly. Just remember that achieving balance is key!
- 1 cup fresh-squeezed lemon juice (seeds removed; pulp may remain): Here comes the star of our show—fresh lemons! There’s something magical about fresh-squeezed lemon juice that bottled varieties simply cannot replicate. The vibrant acidity and zestiness awaken your senses like nothing else can! When choosing lemons, look for those that are firm and heavy for their size—this generally indicates higher juice content. I encourage you to roll them gently on the countertop before juicing; this helps release even more juice from within those juicy spheres! As you squeeze them into your measuring cup, don’t worry if some pulp sneaks in—that textured richness adds character and depth to your lemonade.
Equipment You’ll Need:
Before we get started on making our homemade lemonade recipe, let’s gather a few essential tools to help us along the way! Having the right equipment makes everything smoother and more enjoyable in the kitchen.
- Small saucepan: A good-quality saucepan is crucial for creating your simple syrup. You’ll want one that’s large enough to hold one cup of water along with one cup of sugar without risk of bubbling over as it heats up. Choose one with a heavy bottom if possible; it distributes heat evenly and prevents scorching.
- Measuring cups: Precise measurements are vital when crafting anything from scratch—especially when balancing flavors like sweet and tart in our lemonade! Opt for clear measuring cups where possible so you can see exactly how much liquid you’re working with as you combine ingredients.
- Juicer (manual or electric): While you could squeeze lemons by hand (a technique certain to give your arm quite the workout!), having either a manual lemon juicer or an electric juicer will save time and ensure you extract every last drop of juice efficiently. If you’re using an electric juicer, keep an eye on its speed so as not to over-process—this can cause bitterness from pith!
- Pitcher: This charming vessel will be where all your hard work culminates into deliciousness! Use a sturdy pitcher big enough to hold at least half a gallon—a glass pitcher not only looks beautiful on any table but also keeps things chilled longer than plastic alternatives.
Preparing the Homemade Lemonade Recipe
Step 1: Crafting Your Simple Syrup
Let’s kick off our journey by making simple syrup—the backbone of our homemade lemonade recipe! In your small saucepan, combine one cup of water with one cup of granulated sugar over medium-low heat. Stir gently until all those lovely crystals dissolve completely into the warm water; this process creates an elegant mixture that’s smooth and sugary without any granules left behind. Once dissolved, remove it from heat and allow it to cool for about ten minutes—this step is crucial because adding hot syrup directly into cold liquids can affect temperature balance later on! You’ll find yourself mesmerized watching as those tiny bubbles rise before they settle into tranquility—a little moment of magic before we transform it all into something delightful.
Step 2: Juicing Those Fresh Lemons
Now comes perhaps my favorite part—juicing those bright yellow beauties! Grab your freshly washed lemons and slice them in half crosswise (don’t forget to remove any seeds). Using your juicer of choice (manual or electric), extract every ounce of citrusy goodness from each half until you’ve measured out exactly one cup of fresh-squeezed lemon juice. The aroma swirling around you will be utterly intoxicating—it’s as if sunshine itself has been captured in liquid form! If some pulp makes its way into the final product (and trust me—it likely will), embrace it wholeheartedly; it adds depth and texture that enhances each sip!
Step 3: Combining Flavors
With your cooling simple syrup ready and fresh lemon juice at hand, we’re about to bring everything together in harmonious bliss! In your pitcher, pour in that zesty cup of fresh lemon juice followed by pouring in cooled simple syrup—it’s like watching magic unfold right before your eyes as these two elements blend effortlessly together! Now add in those remaining five cups of cold water—you might want to adjust based on personal taste if you’d like something sweeter or more tart—but remember balance is key here so stir gently yet thoroughly until well combined! Take a moment now as you stir; inhale deeply—the symphony of flavors wafting up towards you promises refreshment beyond compare.
Step 4: Chill Out
This final step might require some patience but trust me—it’s worth every second! Pour yourself a glass filled generously with ice cubes (because nothing beats icy-cold lemonade) then serve immediately or transfer everything back into the refrigerator for several hours if planning ahead for gatherings later on today or tomorrow morning breakfast treats—even overnight chilling intensifies flavor profiles beautifully!! The longer it sits chilled away from heat sources allows flavors time deepen further enhancing tartness balanced perfectly against sweetness developed earlier throughout preparation stages here today🎉
And there we have it—a stunning batch ready just waiting eagerly while enticing everyone around table eager indulge! Enjoy sipping slowly while basking under summer skies glowing bright—may every drop remind us why life’s sweetest moments deserve celebrating together💛
Step 5: Stirring in the Sweet Symphony
Now comes one of the most delightful moments of our Homemade Lemonade Recipe—the combining of flavors! You’ve prepared your simple syrup, a beautiful concoction that feels like liquid gold in your hands. This syrup is crucial because it ensures that every sip of your lemonade is perfectly sweetened, allowing the tartness of the lemon to shine through without any gritty sugar settling at the bottom of your glass. So, pour that cooled syrup into your pitcher with the freshly squeezed lemon juice. Take a moment to admire the contrast—the sunny yellow of the lemon juice meeting the shimmering sweetness of the syrup. It’s a visual feast!
Once you’ve poured in the syrup, it’s time to add those final touches—5 cups of cold water. This step is not just about diluting; it’s about creating balance! The water softens the intense tartness and melds all those vibrant flavors together into a refreshing drink that dances on your palate. Gently stir everything together using a long wooden spoon or a whisk. Make sure to give it a good mix, so each drop is infused with that tangy sweetness you’re craving. Trust me on this; tasting your lemonade at this stage is absolutely paramount! Adjusting sweetness here is still possible—if it’s too tart for your liking, you can always add a touch more sugar or syrup until you find that perfect harmony.
Step 6: Chill Out—The Importance of Patience
Now that you have your beautiful lemonade mixture, we reach an important juncture: chilling it! Why chill? Well, allow me to tell you—it transforms what could be an ordinary drink into something utterly intoxicating. By letting it sit in the refrigerator for at least 2-3 hours, you’re giving the flavors time to mingle, deepen, and intensify—think of it as letting them get better acquainted at a cozy gathering. You’ll find that after a good chill, each sip will be refreshingly cool and oh-so-smooth.
As you wait—and I know patience can be tough when all you want is to quench your thirst—consider this: during this resting period, tiny flavor molecules are dancing around and settling into their roles within this symphony of flavors! If you’re short on time (I understand!), even an hour will suffice for some cooling effect. Just know that if you let it sit longer than 4 hours, it can become overly diluted and lose some of its bright zestiness. So keep an eye on that timer; trust me, it’s worth every minute.
Step 7: The Final Blend—Taste Testing
Once your Homemade Lemonade has chilled beautifully in the fridge, it’s time for my favorite part—taste testing! Pour yourself a tall glass over ice and take a moment to appreciate how gorgeous it looks—the condensation forming tiny beads on the glass as if they’re celebrating this refreshing creation. As you take your first sip, pay attention to how each component harmonizes; you should experience the bright citrus notes from the lemons perfectly balanced by the sweetness from your simple syrup.
But let’s not stop there; remember that taste testing also means adjusting! If you feel like it needs just a tad more zing, squeeze in another dash of fresh lemon juice right before serving—it adds that extra punch and freshness that’s simply divine. Want to make it even more special? A sprig of mint or slices of fresh fruit floating in there can elevate both presentation and flavor! The key here is to ensure each glass maintains that perfect balance; after all, this isn’t just any lemonade—it’s YOUR homemade masterpiece!
Step 8: Serve with Love—Presentation Matters
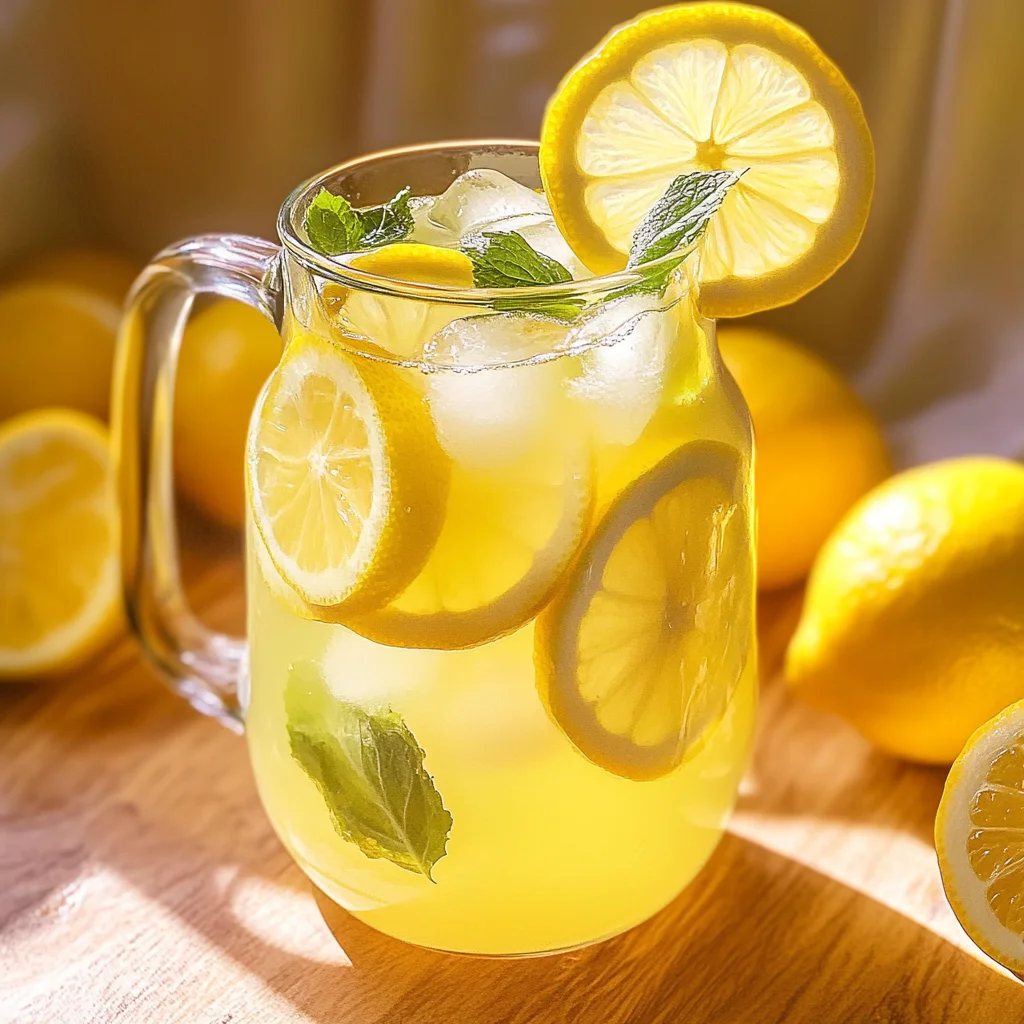
Now comes perhaps one of the most joyous steps—serving up your refreshing Homemade Lemonade Recipe! Presentation may seem trivial but believe me when I say it’s essential for elevating any dish or drink into an experience. Grab some tall glasses filled with ice cubes; watch as they glisten and clink together in anticipation! Pour generous servings of your chilled lemonade over these cubes. As you do so, notice how vibrant and inviting the golden liquid cascades over ice like sunshine captured in a glass.
For an extra touch of flair—and let’s be honest, who doesn’t love a bit of pizzazz?—garnish each glass with thin slices of lemon on top or even fresh berries resting gently at the bottom. A sprig of mint can add not only color but also an invigorating aroma when it’s time to sip. As you’re serving this up for friends and family (or maybe just yourself!), take pride knowing you’ve crafted something truly extraordinary from scratch—a refreshing beverage made with love that will surely bring smiles all-around!
Next Major Phase – Enjoying Your Refreshing Homemade Lemonade
With everything ready to go, gather everyone around and watch as their faces light up upon tasting your Homemade Lemonade Recipe for themselves! Don’t forget to tell them about all those special steps along the way—the care taken in squeezing those lemons fresh or waiting patiently for chilling magic to happen. Share stories about why this recipe means so much to you; after all, food isn’t just about sustenance—it’s about connection.
So pour yourself another glass (you deserve it!) and relish those moments spent laughing and enjoying life together over this classic summer drink that’s perfect for any occasion! Cheers to good times ahead with every delicious sip!
Storage and Enjoyment Tips for Your Homemade Lemonade Recipe
Now that you’ve crafted this utterly refreshing homemade lemonade recipe, it’s time to savor the fruits of your labor! There’s something profoundly satisfying about pouring that golden elixir over ice, the clinking of the cubes echoing like a gentle symphony in your kitchen. The moment you take that first sip, I promise you’ll be transported to sun-soaked afternoons, memories of laughter with friends, and endless summer days. But let’s face it: sometimes we have leftovers, and I want to ensure you enjoy every last drop of this deliciousness.
Storing Leftover Homemade Lemonade Recipe
To keep your homemade lemonade at its peak freshness, store it in an airtight container—preferably glass if you have it on hand. Glass not only keeps the flavor intact but also looks beautiful when you pour yourself another glass! You can pop it in the refrigerator where it will stay delightful for up to five days. If you’re looking to maintain the quality even longer, consider adding a slice of bread to the container; this fun little trick helps absorb excess moisture and keeps your lemonade tasting as vibrant as the day it was made. After storage, don’t be surprised if you find that the flavors have melded into something even more intoxicating—a truly extraordinary transformation! When you’re ready to enjoy more, just give it a gentle stir before serving over fresh ice; trust me on this one!
Freezing Lemonade for Later
If you’re like me and want to keep that summery vibe alive all year round, freezing portions of your homemade lemonade is a fantastic option! Simply pour your lemonade into ice cube trays or freezer-safe containers—this way, you’ll have refreshing lemonade cubes ready whenever you need a quick pick-me-up. It can be stored frozen for up to three months without losing its vibrant flavor. When you’re ready to use them, just toss a few cubes into a glass of sparkling water for an effortlessly refreshing drink or blend them into smoothies for a zesty twist. The convenience factor here is absolutely paramount; imagine reaching into your freezer on a chilly winter day and pulling out sunshine in drinkable form—it’s like having summer at your fingertips!
Homemade Lemonade Recipe

There’s nothing quite like enjoying a refreshing glass of homemade lemonade on a warm day. This simple yet delightful recipe captures the essence of summer with its perfect balance of tart lemon and sweet syrup. Made with just three key ingredients—fresh lemons, sugar, and water—this classic beverage is easy to whip up and serves as a nostalgic reminder of sunny afternoons spent with loved ones. Whether you’re hosting a backyard barbecue or simply relaxing at home, this homemade lemonade offers a thirst-quenching escape that everyone will love.
- Prep Time: 15 minutes
- Cook Time: 10 minutes
- Total Time: 25 minutes
- Yield: Approximately 8 servings 1x
- Category: Dessert
- Method: None
- Cuisine: American
Ingredients
- 6 cups water (divided)
- 1 cup granulated sugar
- 1 cup fresh-squeezed lemon juice (seeds removed; pulp may remain)
Instructions
- In a small saucepan, combine 1 cup of water and 1 cup of granulated sugar over medium-low heat. Stir until the sugar dissolves completely to create simple syrup. Remove from heat and let it cool for about 10 minutes.
- Juice fresh lemons until you have 1 cup of lemon juice, ensuring to remove seeds.
- In a pitcher, combine the cooled simple syrup and lemon juice. Add the remaining 5 cups of cold water and stir gently until well mixed.
- Chill in the refrigerator for at least 2-3 hours before serving over ice.
Nutrition
- Serving Size: 1 cup (240ml)
- Calories: 90
- Sugar: 23g
- Sodium: 0mg
- Fat: 0g
- Saturated Fat: 0g
- Unsaturated Fat: 0g
- Trans Fat: 0g
- Carbohydrates: 24g
- Fiber: 0g
- Protein: 0g
- Cholesterol: 0mg